Kalanchoe Propagation: A Complete Guide for Every Plant Lover
Kalanchoes are beautiful succulent plants that can brighten up any indoor or outdoor space. If you are a plant lover and want to expand your collection of these stunning plants, why not try propagating them? Kalanchoe propagation is a rewarding and straightforward process that can be done in a few simple steps. In this guide, we will take you through the various methods of propagating Kalanchoes to help you grow your own lush garden!
1. Leaf Cuttings
Leaf cuttings are the most popular method of propagating Kalanchoes. Here’s how you can do it:
Step 1: Select a Healthy Leaf
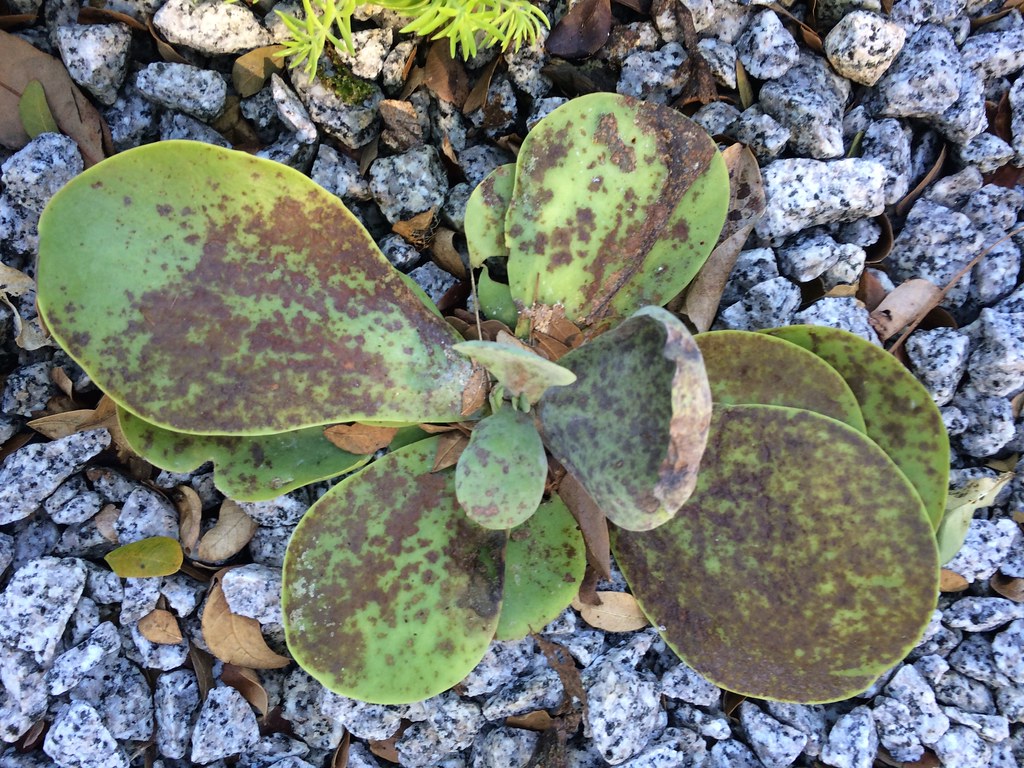
Choose a healthy leaf from the mother plant. Make sure it is plump and free from any pests or diseases.
Step 2: Remove the Leaf
Gently twist or cut the leaf from the mother plant. Ensure that a small portion of the leaf stem (petiole) is intact.
Step 3: Allow the Leaf to Callus
Place the leaf in a warm and dry location away from direct sunlight. Let it sit for a couple of days until the cut end forms a callus.
Step 4: Plant the Leaf
Fill a small pot with well-draining soil or a succulent mix. Plant the leaf, burying the callused end into the soil. Water lightly, ensuring the soil remains slightly moist but not waterlogged.
Step 5: Provide Optimal Conditions
Place the potted leaf in a warm spot with bright, indirect light. Keep the soil lightly moist and watch for new growth to appear within a few weeks.
2. Stem Cuttings
Stem cuttings are another effective method of propagating Kalanchoes. Here’s what you need to do:
Step 1: Select a Healthy Stem
Choose a healthy stem from the mother plant. Look for a section with no flowers or buds.
Step 2: Cut the Stem
Using a sharp, sterilized knife or scissors, cut a piece of the stem measuring around 4-6 inches in length. Ensure there are at least a couple of leaf nodes on the stem.
Step 3: Remove Lower Leaves
Remove the lower leaves of the stem, leaving only a few at the top intact. This will prevent the leaves from rotting when planted.
Step 4: Plant the Stem
Fill a pot with well-draining soil or a succulent mix. Insert the stem into the soil, burying the bottom leaf nodes. Water lightly, allowing the soil to drain excess moisture.
Step 5: Provide Ideal Growing Conditions
Place the potted stem in a warm and bright location, away from direct sunlight. Keep the soil lightly moist and wait for new growth to emerge within a few weeks.
3. Division
Division is a quick and simple method of propagating Kalanchoes. This method is best suited for mature plants. Here’s how you can do it:
Step 1: Prepare the Plant
Carefully remove the Kalanchoe plant from its pot. Gently tease apart the roots and separate the plant into smaller sections.
Step 2: Replant the Divisions
Fill separate pots with well-draining soil or a succulent mix. Plant each division into its own pot, ensuring that the roots are covered with soil. Water lightly to settle the soil.
Step 3: Offer Proper Care
Place the newly divided plants in a warm and brightly lit spot. Water sparingly, allowing the soil to dry out between waterings. Watch as each division grows into a beautiful Kalanchoe plant!
With these propagation methods, you can easily grow and expand your collection of Kalanchoe plants. Whether you choose leaf cuttings, stem cuttings, or division, remember to provide the appropriate care and patience. Soon enough, you’ll have a garden full of vibrant and healthy Kalanchoes to enjoy!
Keep Reading
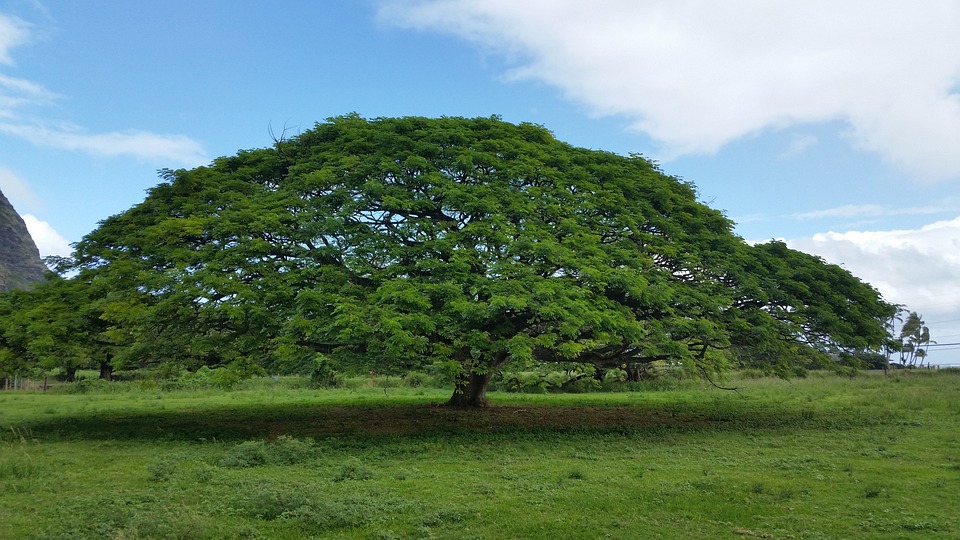
Umbrella Plant Propagation: A Step-by-Step Guide
Are you looking to expand your collection of umbrella plants? Propagating umbrella plants is a great way to do just that! Whether you want to create more lush greenery in your home or gift a plant to a friend, we will help you.
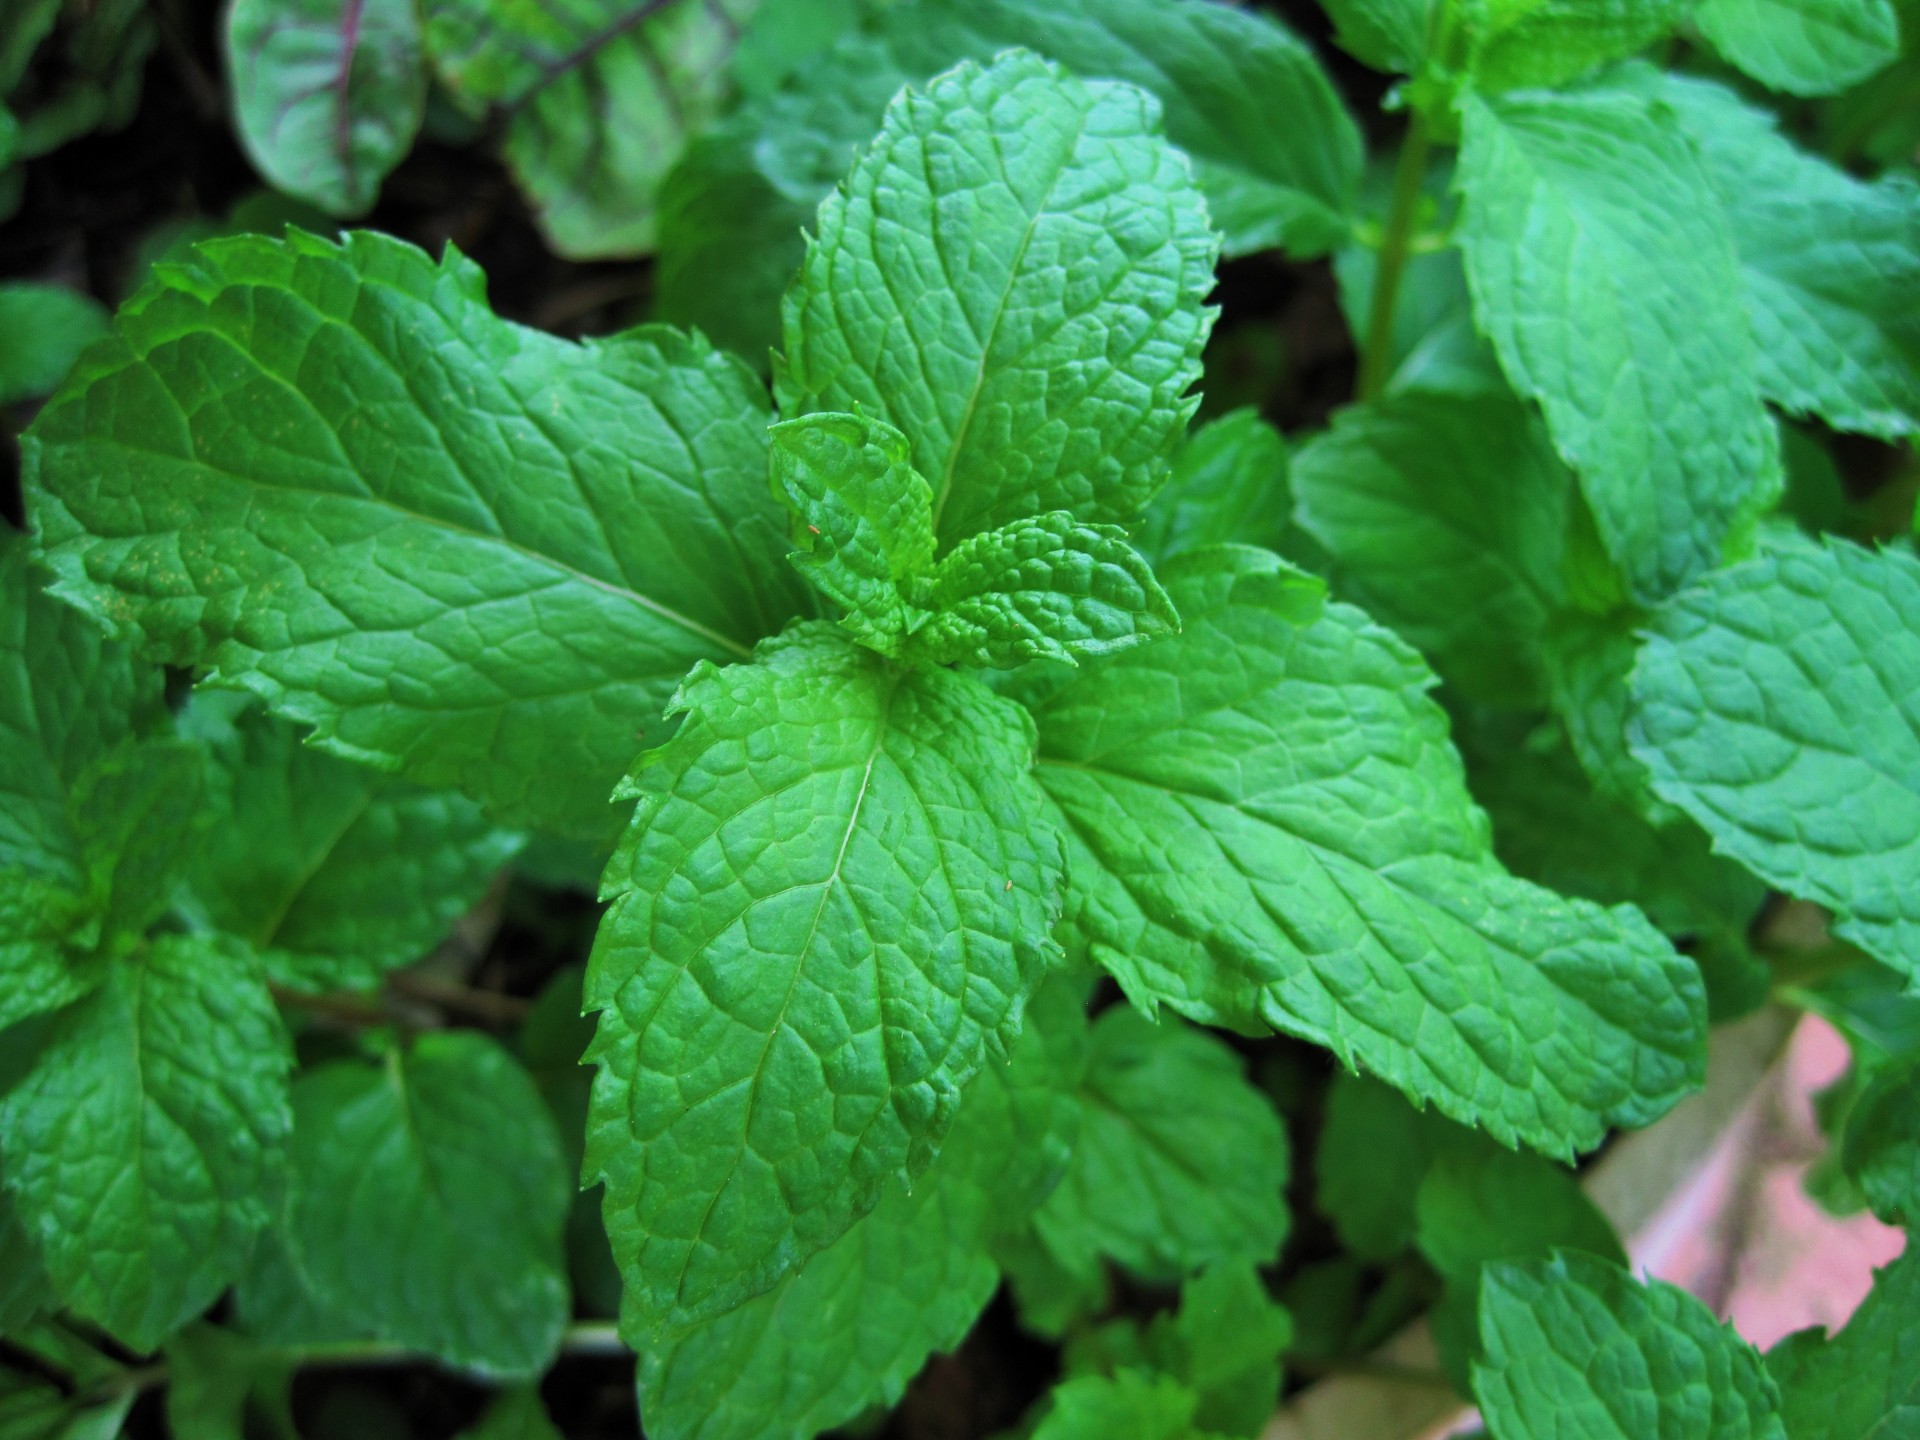
Propagate Mint: A Beginner's Guide to Growing Mint Plants
Mint is a popular herb known for its refreshing fragrance and versatility in culinary uses. Propagating mint is a simple and cost-effective way to expand your herb garden.