
Propagate Aloe: A Step-by-Step Guide to Successfully Propagating Aloe Plants
Aloe plants are not only lovely additions to any indoor or outdoor garden, but they also offer numerous health benefits. If you’re looking to expand your aloe collection or share this amazing plant with friends and family, propagating aloe is the way to go. In this comprehensive guide, we will walk you through the step-by-step process of propagating aloe plants successfully.
What is Plant Propagation?
Propagation is the process of creating new plants from existing ones. In the case of aloe, this can be achieved through various methods, including leaf cutting and division.
Propagating Aloe via Leaf Cutting
- Select a Healthy Leaf: Choose a mature, healthy leaf from your aloe plant. Ensure it is intact and free from any signs of disease or damage.
- Prepare the Cutting: Using a clean, sharp knife or shears, carefully cut the leaf at its base, closest to the stem. Aim for a length of 3-6 inches.
- Allow the Cutting to Callus: Place the cutting, exposed end facing upwards, in a warm and dry location for a few days. This step allows the cut end to form a protective layer, known as a callus, which helps prevent rotting.
- Prepare the Potting Soil: While the cutting is callusing, prepare a well-draining potting mix suitable for succulents. A mixture of cactus soil and perlite or sand works well.
- Plant the Cutting: Once the cutting has callused, place it horizontally into the potting mix, with the callused end inserted into the soil. Ensure the cutting is only partially buried, leaving the upper part exposed.
- Provide Optimal Conditions: Place the potted cutting in a warm, bright location with indirect sunlight. Avoid overwatering; instead, lightly mist the soil occasionally to maintain slight moisture.
- Monitor and Wait: Over the next few weeks, the cutting will start developing roots. Resist the urge to tug or check for root growth too early, as this may disrupt the process. Be patient and allow nature to take its course.
- Transplant the New Aloe Plant: Once you notice significant root growth, usually in 6-8 weeks, you can transplant the new aloe plant into its permanent pot. Use a well-draining soil mix and continue providing appropriate care.
Propagating Aloe via Division
- Choose a Mature Plant: Select a well-established aloe plant to divide. Ideally, it should have several offshoots, also known as “pups,” emerging from the main plant.
- Prepare the Tools: Get a clean, sharp knife or garden shears ready for the division process.
- Remove the Plant from its Pot: Gently lift the aloe plant from its pot, being cautious not to damage the roots or break the stems.
- Separate the Pups: Carefully separate the pups from the parent plant. Ensure each pup has its own set of roots attached.
- Prepare Individual Pots: Ensure each pup has a suitable-sized pot filled with well-draining soil. Plant the pups at the same depth as they were previously, making sure the roots are covered adequately.
- Water and Provide Care: After dividing and planting the pups, water each plant lightly. Place the pots in a warm and bright location, avoiding direct sunlight. Mist the soil occasionally to maintain light moisture.
By following these step-by-step instructions, you can successfully propagate aloe plants through leaf cuttings or division. Enjoy the rewarding process of growing new aloe plants and sharing them with others. Happy propagating!
Keep Reading
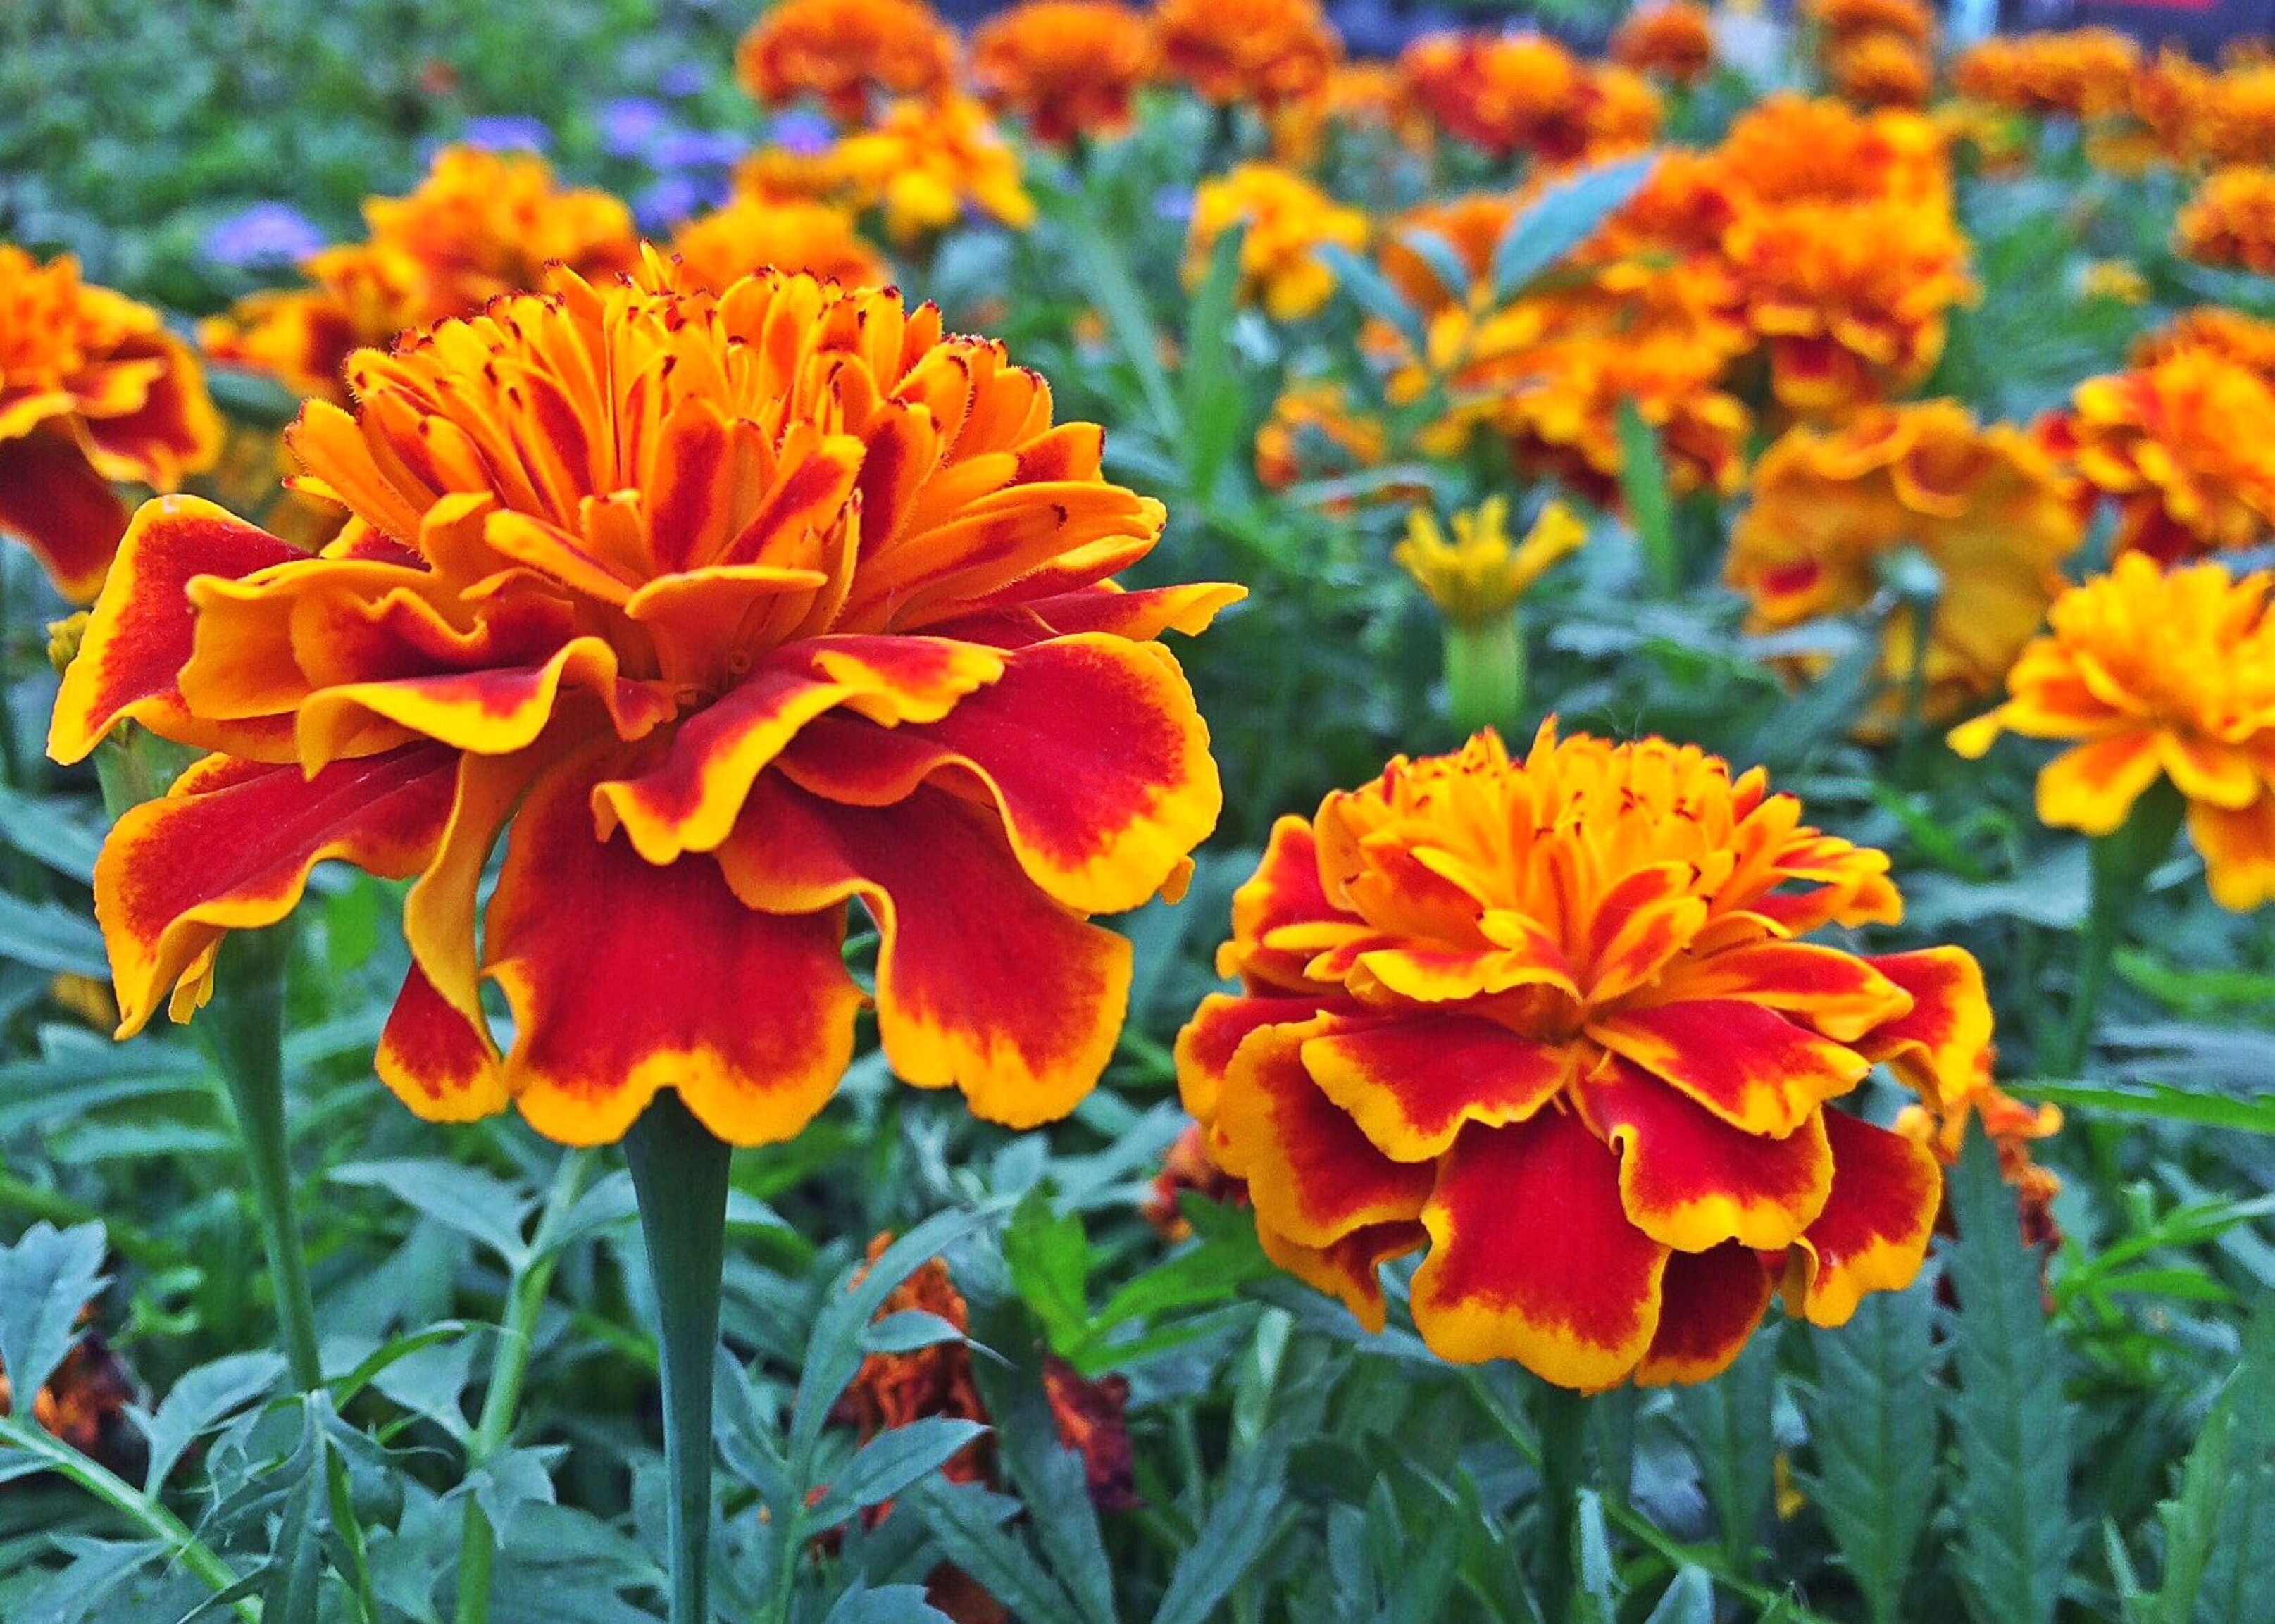
Propagating Marigold Plants: A Step-by-Step Guide
Marigolds are vibrant and hardy flowers loved by garden enthusiasts for their cheerful blooms. If you've always admired marigolds and want to expand your garden, why not try propagating marigold plants?
Umbrella Plant Propagation: A Step-by-Step Guide
Are you looking to expand your collection of umbrella plants? Propagating umbrella plants is a great way to do just that! Whether you want to create more lush greenery in your home or gift a plant to a friend, we will help you.