Propagate Fiddle Leaf Fig: A Beginner's Guide to Plant Propagation
Discover how to successfully propagate a fiddle leaf fig plant at home and expand your greenery with this easy step-by-step guide.
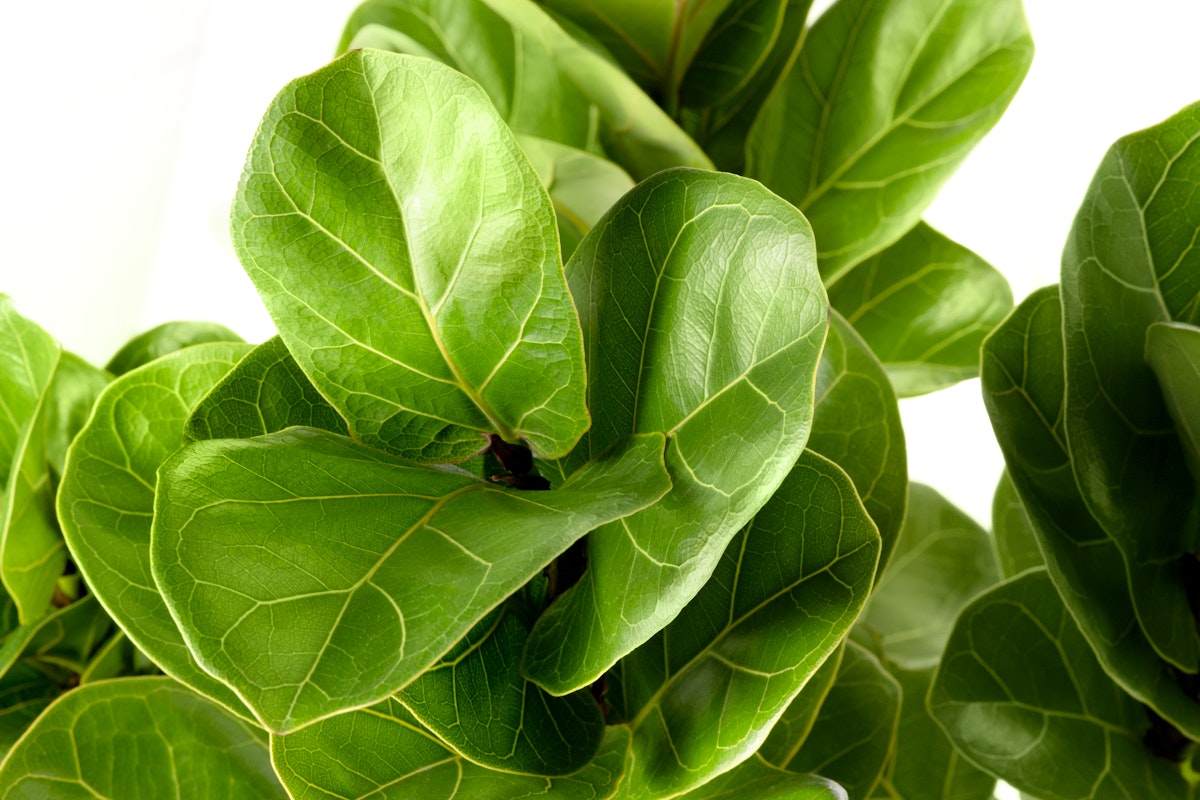
Are you a plant lover looking to expand your indoor greenery? Propagating plants is an excellent way to multiply your beloved fiddle leaf fig (scientifically known as Ficus lyrata) without breaking the bank. With a bit of patience and the right techniques, you can successfully propagate your fiddle leaf fig and enjoy more beautiful leafy companions in your home. In this beginner’s guide, we’ll walk you through the step-by-step process of propagating a fiddle leaf fig plant right at home.
What is Plant Propagation?
Plant propagation is the process of multiplying plants from a parent plant, creating new individual plants that retain the characteristics of the original. This can be achieved through various methods such as stem cuttings, air layering, division, or seed germination. In the case of propagating a fiddle leaf fig, we’ll be focusing on the widely used method of stem cutting propagation.
Step-by-Step Guide to Propagate Fiddle Leaf Fig
Follow these simple steps to propagate your fiddle leaf fig plant:
1. Gather the necessary tools: Before you begin, make sure you have sharp, sterile pruning shears or a clean knife, a clean container filled with water, and a rooting hormone powder (optional).
2. Choose a healthy parent plant: Select a mature, healthy fiddle leaf fig plant with strong, disease-free leaves. This will increase the chances of success for your propagation.
3. Take a cutting: Identify a healthy stem with at least two to three healthy leaves. Using your pruning shears or knife, cut the stem at a 45-degree angle, just below a leaf node (where the leaf meets the stem).
4. Remove lower leaves: Trim off the leaves from the lower one-third to one-half of the cutting. This will prevent excess moisture loss and direct energy towards root development.
5. Optional: Dip in rooting hormone: If desired, lightly dip the cut end of the stem in a rooting hormone powder. This can promote faster root development, although it is not necessary for success.
6. Place in water: Insert the cut end of the stem into the container filled with water, ensuring the bottom nodes are submerged. Place the container in a warm, well-lit area, away from direct sunlight.
7. Change water regularly: Every few days, change the water to prevent the growth of bacteria or algae. This helps maintain a healthy environment for root development.
8. Monitor and wait: Be patient and keep an eye on your cutting. After a few weeks, you should start to see small roots forming. Once the roots are around 1-2 inches long, your cutting is ready for the next step.
9. Potting your cutting: Prepare a well-draining potting mix and choose a container with drainage holes. Gently plant your rooted cutting, ensuring the soil is evenly moist. Place it in a bright, indirect light location and avoid overwatering.
10. Nurture your new plant: Keep your newly potted fiddle leaf fig cutting in a stable environment with consistent humidity, temperature, and light. Be patient and watch your new plant grow into a thriving fiddle leaf fig!
Tips for Successful Propagation
To increase your chances of success when propagating a fiddle leaf fig, consider the following tips:
- Choose a healthy parent plant with no signs of pests or diseases.
- Use sterile tools to prevent the introduction of harmful pathogens.
- Add a rooting hormone to enhance root development, although it’s not necessary.
- Maintain a clean water source and change it regularly to prevent contamination.
- Provide your cutting with a warm and bright environment, but avoid direct sunlight.
- Choose a well-draining potting mix and container for planting your rooted cutting.
- Maintain consistent humidity, temperature, and light for optimal growth.
Conclusion
Propagating a fiddle leaf fig can be a rewarding experience, allowing you to expand your greenery and share the joy of plant parenthood. By following our step-by-step guide and implementing the tips we’ve provided, you’ll be well on your way to successfully propagating your very own fiddle leaf fig plants at home. Remember, patience is key to the propagation process, so take your time, observe your cutting’s progress, and enjoy the journey of watching it grow into a thriving plant.
Keep Reading
Propagating Prayer Plants: A Step-by-Step Guide for Success
Prayer plants (Maranta leuconeura) are beautiful, tropical houseplants known for their vibrant foliage and unique leaf movements. Learn how to propagate them!

Chinese Evergreen Propagation: A Guide to Growing this Beautiful Houseplant
Chinese evergreen plants are popular choices for indoor gardening due to their beautiful foliage and easy care.