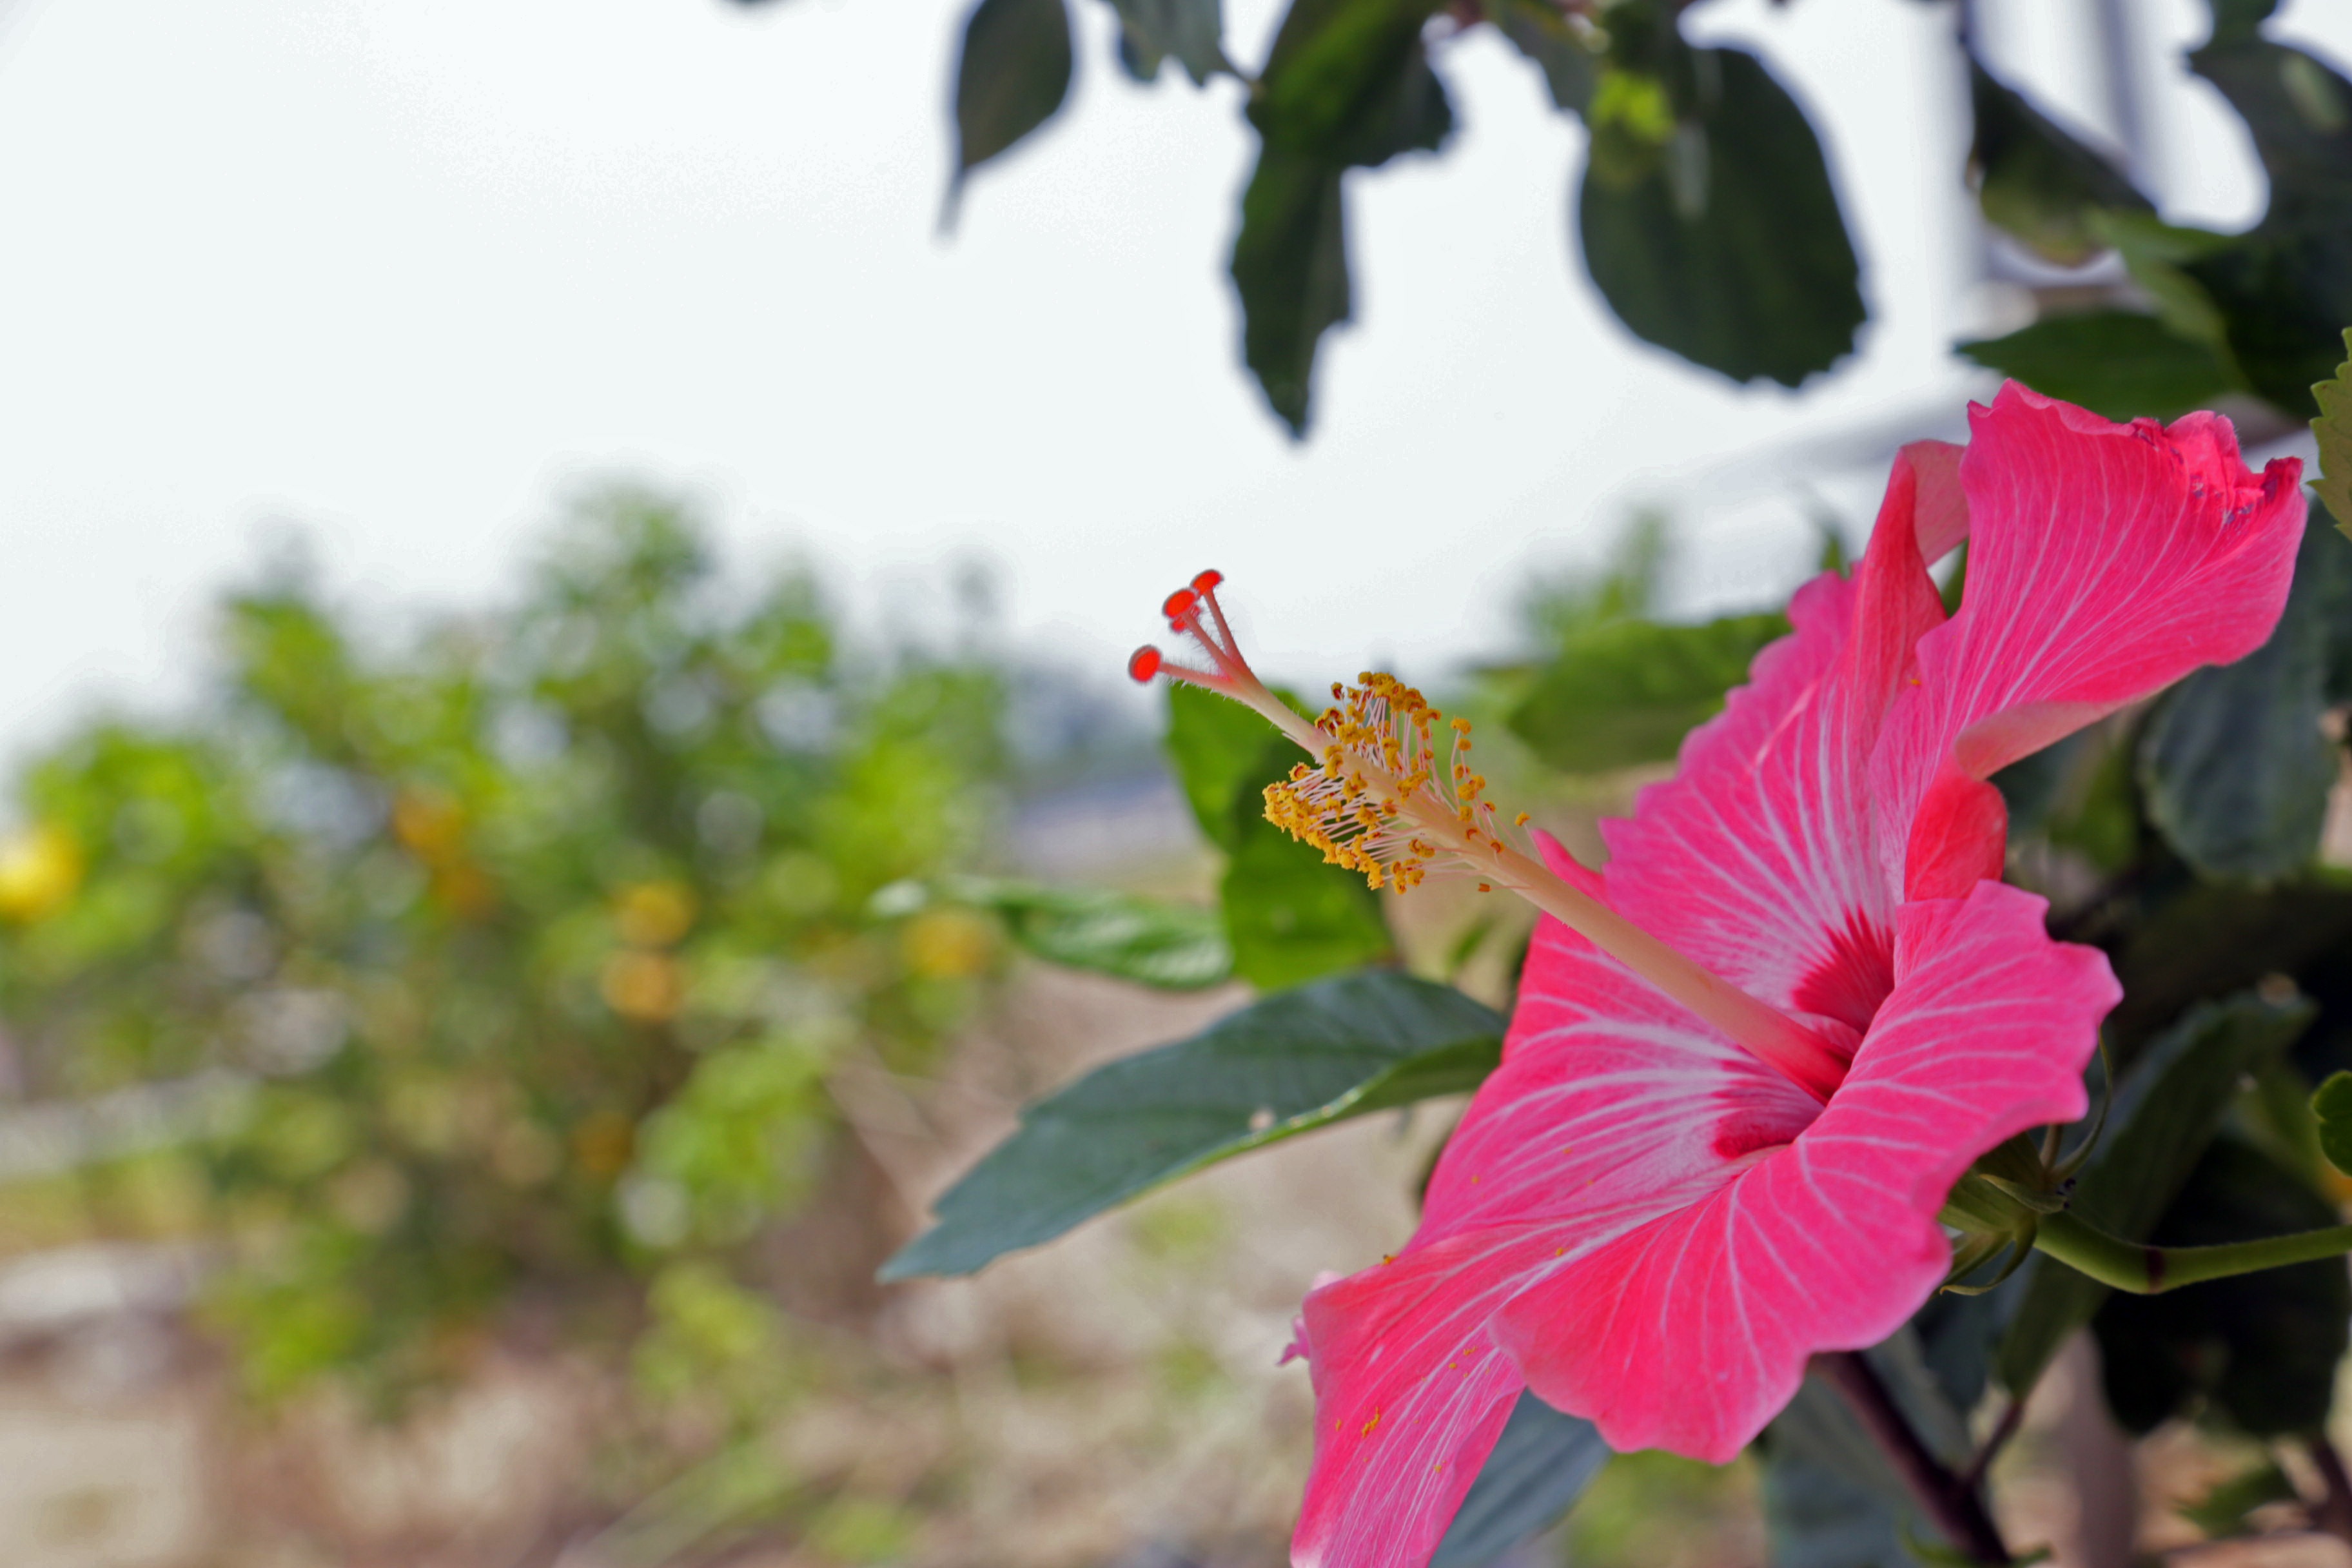
Propagating Hibiscus Plants: A Step-by-Step Guide for Successful Hibiscus Propagation
Are you a hibiscus lover looking to expand your garden without breaking the bank? Propagating hibiscus plants is a great way to achieve just that! Whether you want to create an army of beautiful hibiscus blooms or share your love for these vibrant flowers with friends and family, hibiscus propagation is an easy and affordable technique. In this step-by-step guide, we will walk you through the process of propagating hibiscus plants, ensuring successful results every time.
Materials Needed
Before you get started, gather the following materials:
- A healthy and mature hibiscus plant
- Pruning shears or a sharp knife
- A rooting hormone (optional but recommended)
- A suitable pot or container with well-draining soil
- Clear plastic bag or a propagation dome
- Watering can or spray bottle
- A warm and bright location
Step 1: Select the Parent Plant
Choose a healthy and mature hibiscus plant as the parent plant for propagation. Look for strong branches and vibrant foliage, as these qualities are more likely to be passed on to the new plants.
Step 2: Prepare the Parent Plant
Using your pruning shears or a sharp knife, take several cuttings from the parent plant. Each cutting should be around 4 to 6 inches long and have at least two sets of leaves. Make the cut just below a leaf node, ensuring a clean and angled cut.
Step 3: Apply Rooting Hormone (Optional)
To enhance the chances of successful rooting, you may choose to apply a rooting hormone to the cut end of each hibiscus cutting. Rooting hormones contain growth-stimulating compounds that encourage the development of roots.
Step 4: Plant the Cuttings
Fill a suitable pot or container with well-draining soil. Make small holes in the soil using your finger or a pencil, ensuring they are deep enough to accommodate the hibiscus cuttings without damaging the leaves. Gently place each cutting into a hole, ensuring that at least one set of leaves is above the soil surface.
Step 5: Create a Mini Greenhouse
Cover the pot or container with a clear plastic bag or place it in a propagation dome. This creates a mini greenhouse, enabling the cuttings to retain moisture and warmth. Ventilation is important to prevent excessive moisture buildup, so ensure there are small holes or openings in the plastic bag or dome.
Step 6: Provide Adequate Care
Place the hibiscus cuttings in a warm and bright location, away from direct sunlight. Maintain a consistent temperature between 70-80°F (21-27°C). Water the cuttings when the top inch of soil feels dry. Use a watering can or spray bottle to keep the soil slightly moist, but avoid overwatering as it may lead to root rot.
Step 7: Monitor and Wait for Root Development
Check the cuttings regularly for signs of new growth. After a few weeks, you might observe new leaves or roots growing from the base of the cuttings. This indicates successful rooting and the establishment of new plants.
Step 8: Transplant into Individual Pots
Once the new hibiscus plants have developed strong roots, usually in about 6-8 weeks, it’s time to transplant them into individual pots. Use a well-draining potting mix and keep the plants in a bright location with indirect sunlight.
Step 9: Provide Ongoing Care
Continue to water and care for the newly transplanted hibiscus plants as they grow. Once they have matured, you can enjoy their vibrant blooms or gift them to other hibiscus enthusiasts.
Now that you know the secrets to successful hibiscus propagation, it’s time to get your hands dirty and start expanding your collection of these beautiful flowering plants. With a little patience and care, you’ll have a thriving garden filled with colorful hibiscus blooms in no time. Happy propagating!
Keep Reading
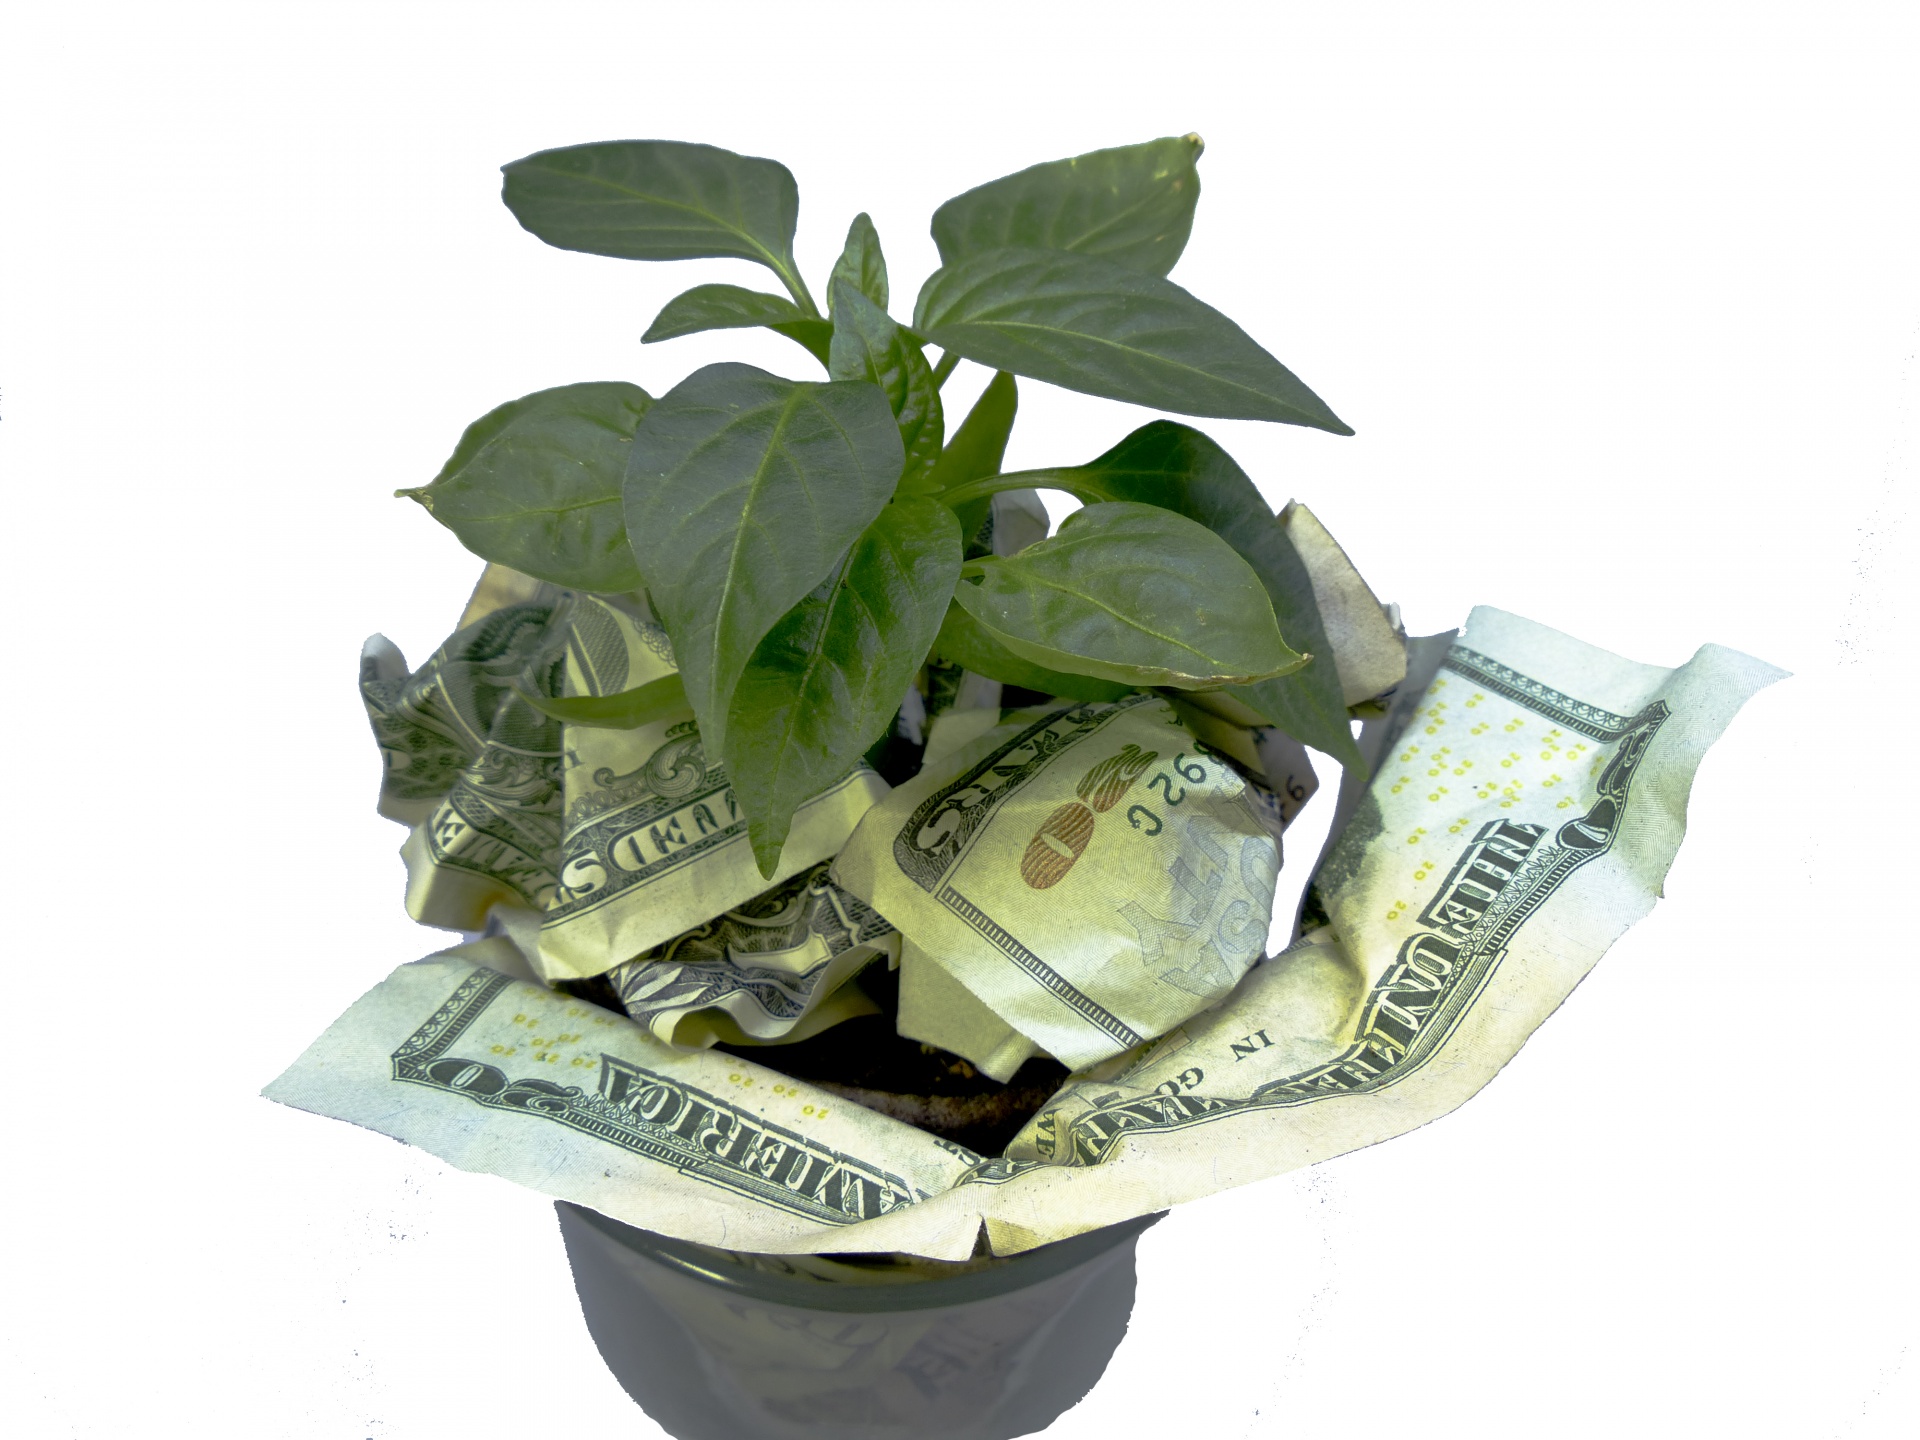
How to Propagate Money Tree: A Step-by-Step Guide
Are you a plant enthusiast looking to expand your collection? Money trees, also known as Pachira Aquatica, are wonderful additions to any indoor garden. Not only do they bring good luck and prosperity, but they are also relatively easy to propagate.

Philodendron Propagation: A Guide to Growing New Plants
Philodendrons are beautiful and popular houseplants known for their lush foliage and easy care requirements. If you're a plant lover looking to expand your collection or share your philodendron with friends and family.