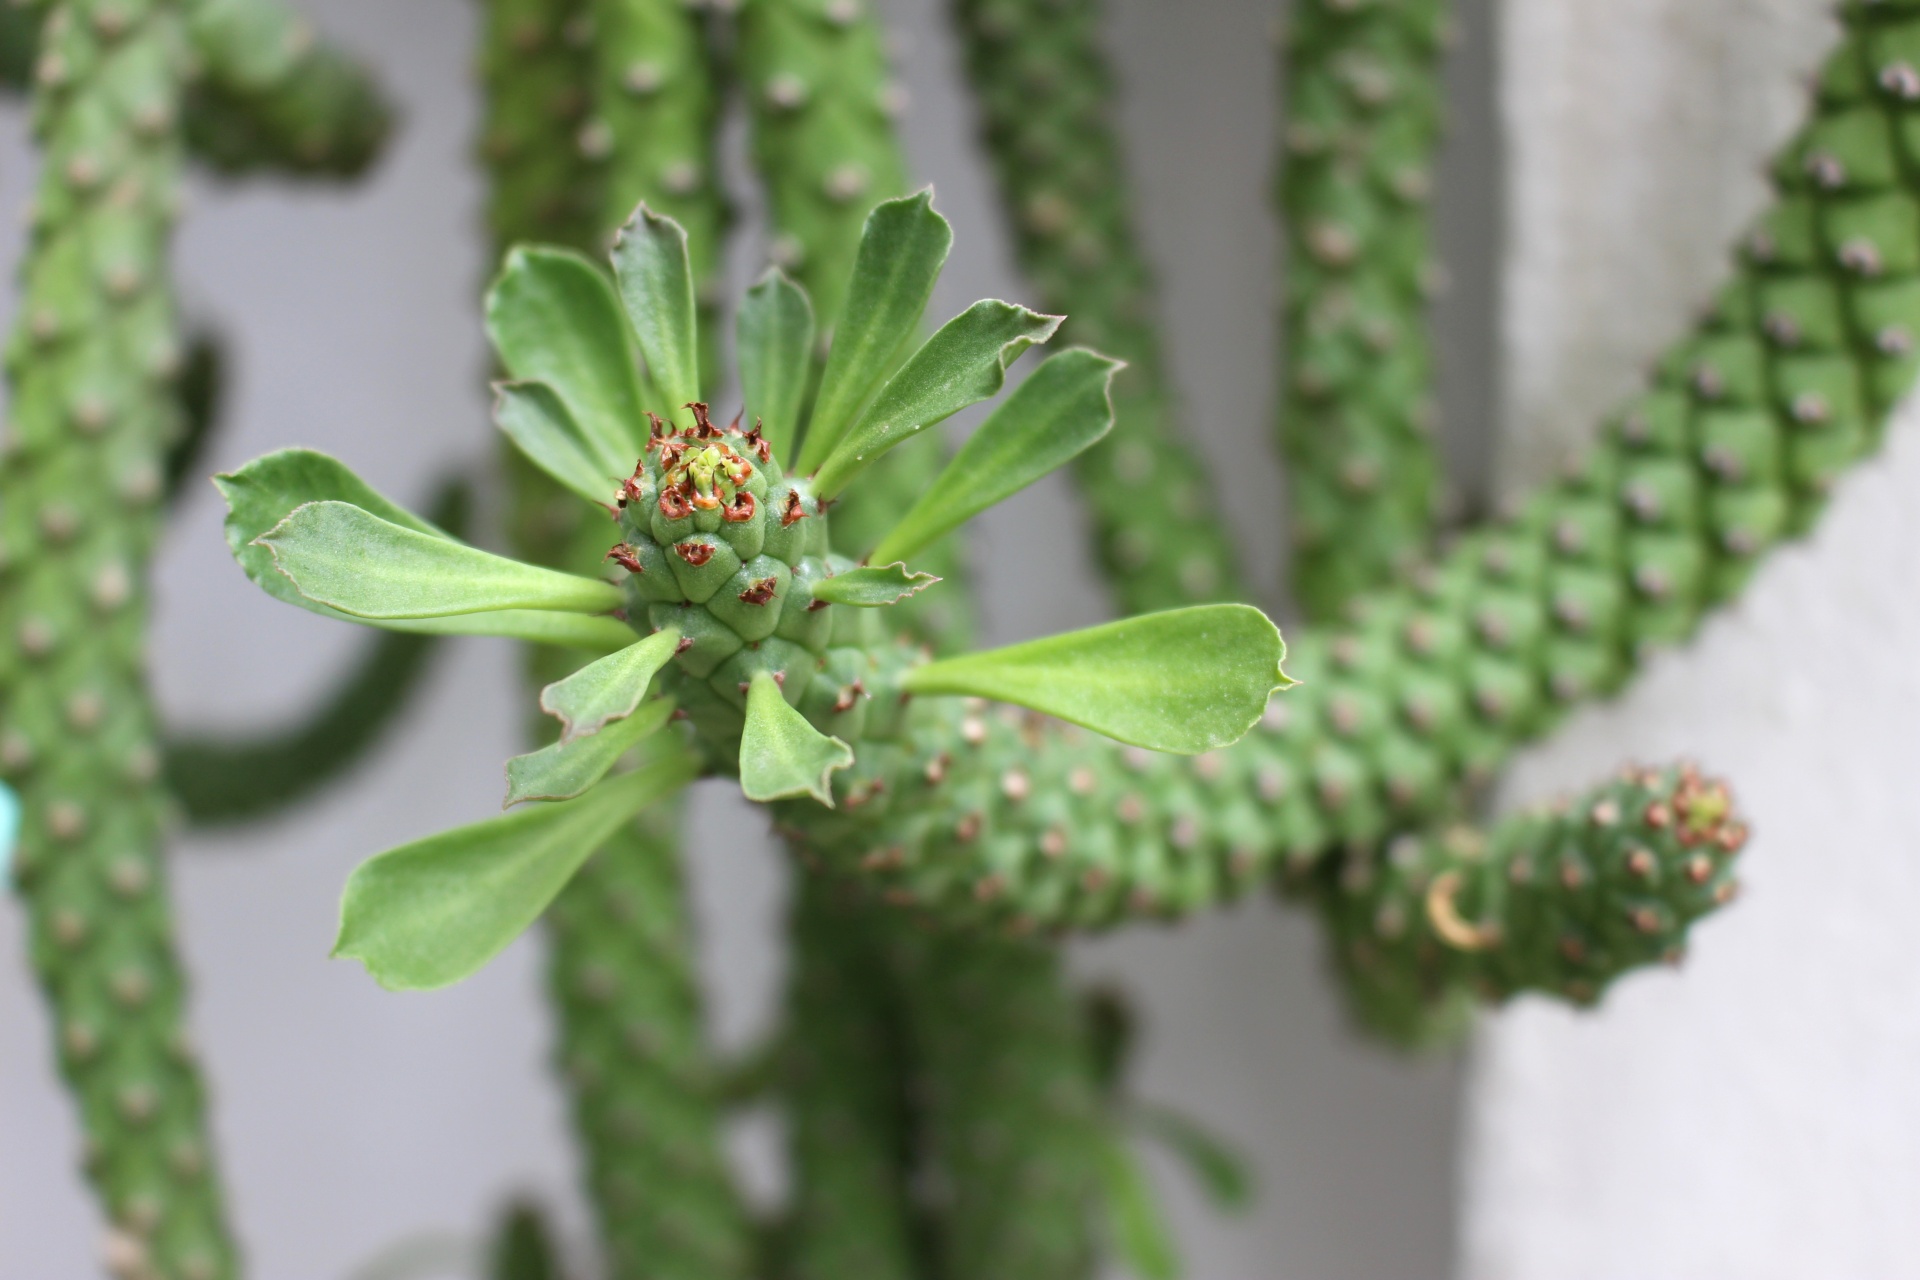
Snake Plant Propagation: A Step-by-Step Guide for Green Thumbs
Snake plants, or Sansevieria, are popular and easy-to-care-for houseplants. If you want to expand your collection without breaking the bank, snake plant propagation is the way to go. In this step-by-step guide, we will walk you through the process of propagating snake plants to help you nurture new green life.
Materials You’ll Need
Before you begin propagating your snake plant, gather the following materials:
- Healthy mother snake plant
- Sharp and clean pruning shears
- Pot with well-draining soil
- Rooting hormone (optional)
- Water spraying bottle
Step 1: Prepare Your Mother Plant
Start by selecting a healthy and mature mother plant. Ensure it has vibrant green foliage and sturdy leaves. Prepare the snake plant for propagation by watering it a few days before, ensuring the soil is moist.
Step 2: Choose the Right Leaf to Propagate
Identify a mature leaf for propagation. Look for a leaf that is at least 2-3 inches long and has a healthy appearance. Leaves that are older and closer to the base of the plant are ideal for propagation. Gently remove the selected leaf from the mother plant using clean pruning shears.
Step 3: Cut and Prepare the Leaf Cutting
Take the leaf cutting and divide it into sections, ensuring each section has around 2-3 inches of length. Cut the sections at an angle, making sure to keep track of their orientation. This will be important when planting them later on. Allow the leaf cuttings to dry out for a day or two, allowing calluses to form.
Step 4: Optional - Apply Rooting Hormone
For quicker and more successful rooting, you can choose to apply a rooting hormone to the cut ends of the leaf sections. This step is optional but can enhance the chances of successful propagation.
Step 5: Plant the Leaf Cuttings
Fill a pot with well-draining soil, leaving about an inch of space at the top. Make small holes in the soil using your finger or a pencil. Place the leaf cuttings in the holes, ensuring they are oriented correctly (cut end down, top end up). Gently press the soil around the cuttings to secure them in place.
Step 6: Water and Provide Proper Care
After planting the cuttings, mist the soil gently to moisten it without overwatering. Over the next few weeks, keep the soil consistently moist but not waterlogged. Place the pot in a location with indirect sunlight, away from cold drafts or extreme temperatures.
Step 7: Watch for Signs of Growth
Over time, your leaf cuttings will develop roots and new shoots. Be patient, as this process can take a few weeks to a few months, depending on environmental conditions. Once new growth is observed, you can begin treating your new snake plant as a mature plant, gradually reducing watering frequency.
Conclusion
With a little patience and care, propagating snake plants can be a rewarding experience. By following these steps, you can create new snake plants from the leaves of your existing ones. Soon enough, you’ll have a collection of beautiful and thriving snake plants to enjoy or share with fellow green thumbs. Happy propagating!
Keep Reading

Rubber Plant Propagation: A Step-by-Step Guide
If you're a plant enthusiast, propagating your rubber plant can be a rewarding and cost-effective way to expand your collection. Rubber plants (Ficus elastica) are popular for their glossy leaves and low-maintenance nature.