Peperomia Propagation: A Step-by-Step Guide for Plant Lovers
If you’re a plant lover looking to expand your collection, peperomia propagation is a fantastic way to do so. Not only is it an exciting and rewarding process, but it’s also relatively easy, making it perfect for both beginners and experienced plant enthusiasts. In this step-by-step guide, we’ll walk you through the process of propagating peperomia plants, ensuring success and a flourishing green collection.
1. Select the Right Peperomia Variety
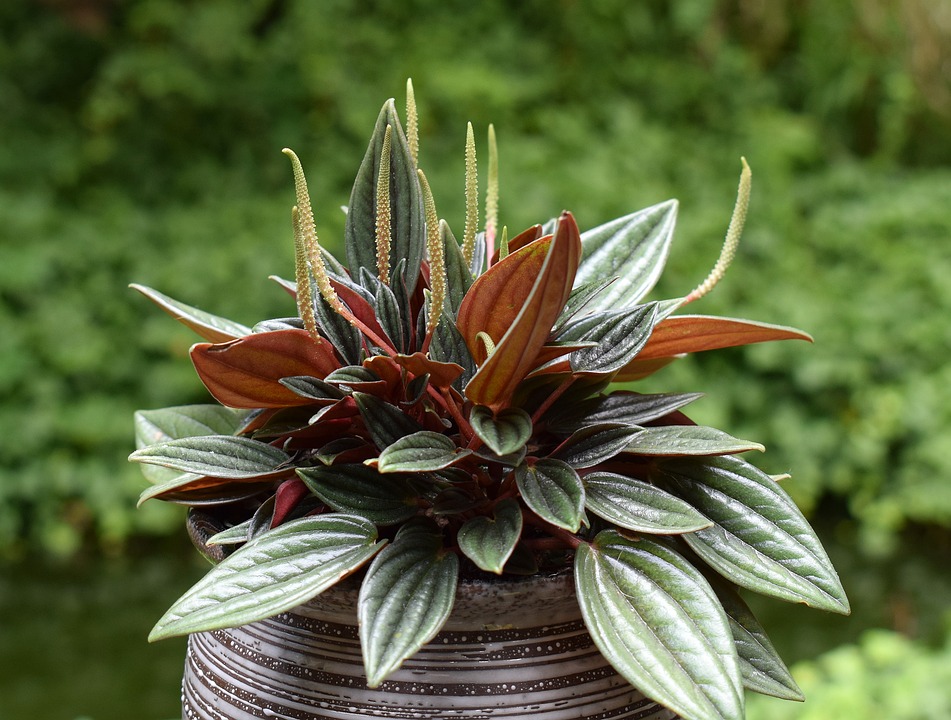
Before starting the propagation process, it’s essential to choose the right peperomia variety. Peperomia plants come in various shapes, sizes, and textures, such as Peperomia obtusifolia, Peperomia incana, or Peperomia argyreia. Select a plant that you are particularly fond of or one that has healthy parent leaves. This way, you can ensure that the propagated plant inherits the desired traits.
2. Choose a Propagation Method
Peperomias can be propagated using various methods, such as stem cuttings, leaf cuttings, or division. Stem cuttings are the most common and straightforward method. For the purpose of this guide, we’ll focus on propagating peperomias through stem cuttings, as it’s the easiest method for beginners.
3. Prepare Your Materials
To successfully propagate your peperomia, you’ll need the following materials:
- A healthy peperomia plant
- Clean garden shears or a sharp knife
- A small container or pot with drainage holes
- Well-draining potting mix
- A clean, clear plastic bag or a mini greenhouse
4. Taking the Cuttings
Start by selecting a healthy stem from the parent plant. Look for a stem that has at least two sets of leaves on it. Using clean garden shears or a sharp knife, cut the stem just below a node, which is where the leaf meets the stem. Nodes are crucial for root development, so be sure to include at least one in your cutting.
5. Preparing the Cuttings
Remove the lower set of leaves from the bottom of your cutting, leaving only a few inches of bare stem. This will ensure that the energy is directed toward root development rather than supporting unnecessary foliage.
6. Potting Your Cuttings
Fill a small container or pot with well-draining potting mix, leaving enough space at the top for your cutting. Make a small hole in the potting mix using your finger or a pencil and carefully place the cutting inside. Gently press the soil around the stem to ensure stability.
7. Provide the Right Conditions and Care
To encourage root growth, your peperomia cutting will need a warm and humid environment. Place a clear plastic bag or a mini greenhouse over the pot to create a mini greenhouse effect. This will help retain moisture and create a humid atmosphere, ideal for root development.
8. Monitor and Water
Keep a close eye on your cutting, ensuring that the potting mix remains slightly moist but never soggy. Overwatering can lead to root rot, so it’s essential to strike the right balance. Mist the leaves with water occasionally to increase humidity levels.
9. Transplanting
After a few weeks, your peperomia cutting should start developing roots. You can check this by gently tugging on the stem—if you feel resistance, it’s a sign that roots have formed. At this stage, you can transplant your peperomia cutting into its own pot with well-draining soil.
10. Enjoy Your New Peperomia Plant
Congratulations! You’ve successfully propagated your peperomia plant. Place it in a bright location away from direct sunlight, and continue to care for it as you would any other peperomia. With proper care and attention, your new peperomia plant will grow and thrive, adding beauty to your indoor garden.
By following these steps, you can easily propagate your favorite peperomia plants and expand your green collection. Have fun experimenting with different peperomia varieties and watch your propagation skills flourish along with your plants!
Keep Reading
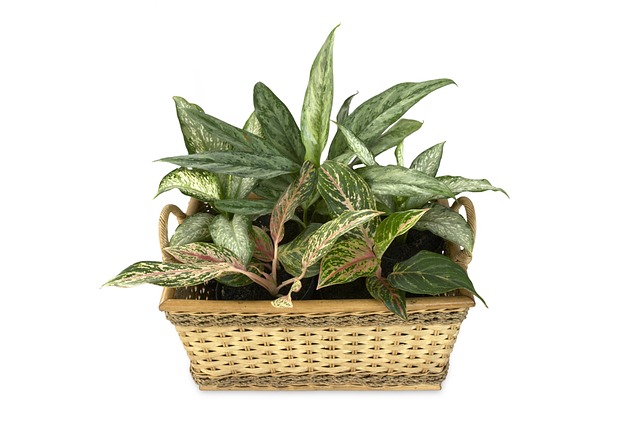
Chinese Evergreen Propagation: A Guide to Growing this Beautiful Houseplant
Chinese evergreen plants are popular choices for indoor gardening due to their beautiful foliage and easy care.
Dieffenbachia Propagation: A Step-by-Step Guide to Growing New Plants
Dieffenbachia, also known as Dumb Cane, is a popular houseplant known for its attractive foliage. If you want to expand your collection or share this beautiful plant with others, propagating Dieffenbachia can be an exciting and rewarding process.