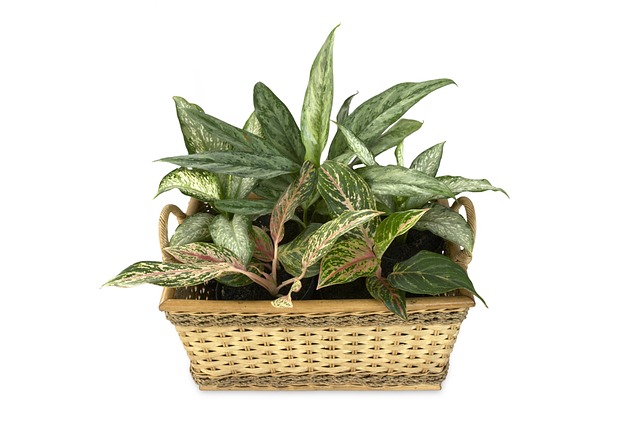
Dieffenbachia Propagation: A Step-by-Step Guide to Growing New Plants
Dieffenbachia, also known as Dumb Cane, is a popular houseplant known for its attractive foliage. If you want to expand your collection or share this beautiful plant with others, propagating Dieffenbachia can be an exciting and rewarding process. In this guide, we will walk you through the step-by-step process of Dieffenbachia propagation.
1. Gather your Materials
Before you start propagating Dieffenbachia, make sure you have the following materials ready:
- Clean, sharp pruning shears or a clean knife
- Clean, empty pots with drainage holes
- Well-draining potting mix
- Rooting hormone (optional)
- A clear plastic bag or a propagation tray with a plastic lid
- Watering can or spray bottle
2. Choose the right Stem Cutting
To propagate Dieffenbachia, you will need to take stem cuttings. Look for a healthy, mature stem with at least two to three nodes (the areas where leaves attach to the stem). Make a clean cut just below a node using your pruning shears or knife.
3. Prepare the Cutting
To increase the chances of successful propagation, remove the lower leaves from the cutting. This will help the plant focus its energy on root development rather than trying to sustain a large amount of foliage. You can make a clean cut just above the node where the leaf attached.
4. Apply Rooting Hormone (optional)
While not necessary, applying rooting hormone can help speed up the rooting process. Dip the cut end of the stem into the rooting hormone, following the instructions on the product packaging. Gently tap off any excess powder.
5. Plant the Cutting
Fill your pot with well-draining potting mix, leaving about an inch of space at the top. Create a small hole in the soil using your finger or a pencil, then insert the cutting into the hole. Firmly press the soil around the base of the cutting to secure it in place.
6. Provide the Right Environment
To encourage root growth, your Dieffenbachia cutting needs a warm and humid environment. You can create a mini greenhouse by placing a clear plastic bag over the pot or using a propagation tray with a plastic lid. This helps to retain moisture and create a humid atmosphere. Place the cutting in a bright, indirect light location, away from direct sunlight.
7. Watering and Care
Keep the potting mix evenly moist, but not waterlogged. Water the cutting by misting it with a spray bottle or by pouring water into the potting mix, allowing the excess to drain out through the bottom holes. Avoid overwatering as it can lead to rot.
8. Patience is Key
Rooting can take several weeks to a few months, so be patient and resist the temptation to disturb the cutting too soon. Keep an eye on the moisture levels and make sure to remove any wilted leaves or mold that may appear.
9. Gradual Transition
Once your Dieffenbachia cutting has developed a healthy root system, it’s time to gradually expose it to normal growing conditions. Remove the plastic bag or lid and gradually increase the amount of light it receives.
10. Enjoy Your New Dieffenbachia Plant
Once your cutting has established roots and adjusted to its new environment, you can consider it a successfully propagated Dieffenbachia plant. Keep caring for it as you would with any other Dieffenbachia, providing it with the right light, water, and nutrition.
Propagation is a great way to expand your plant collection or share your love for plants with others. By following these steps, you can successfully propagate your own Dieffenbachia plants and enjoy the beauty they bring to your home. Happy propagating!
Keep Reading
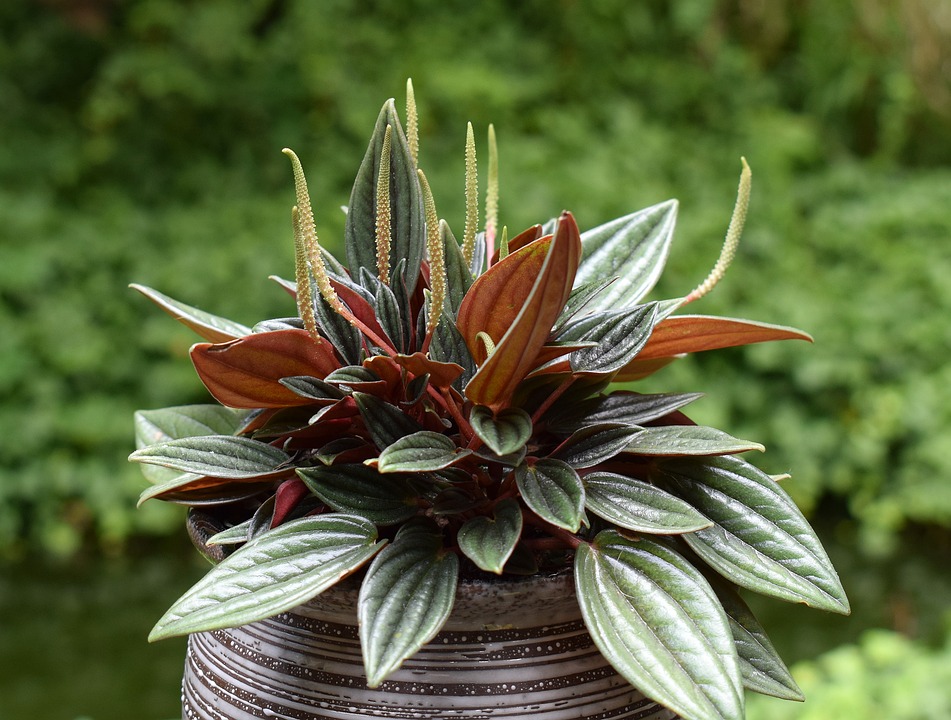
Peperomia Propagation: A Step-by-Step Guide for Plant Lovers
If you're a plant lover looking to expand your collection, peperomia propagation is a fantastic way to do so. Not only is it an exciting and rewarding process, but it's also relatively easy.
Propagate Monstera: A Guide to Successfully Propagating this Popular Houseplant
Monstera, also known as the Swiss cheese plant, is a trendy and sought-after houseplant. Its unique foliage and low maintenance requirements make it a favorite among plant enthusiasts.