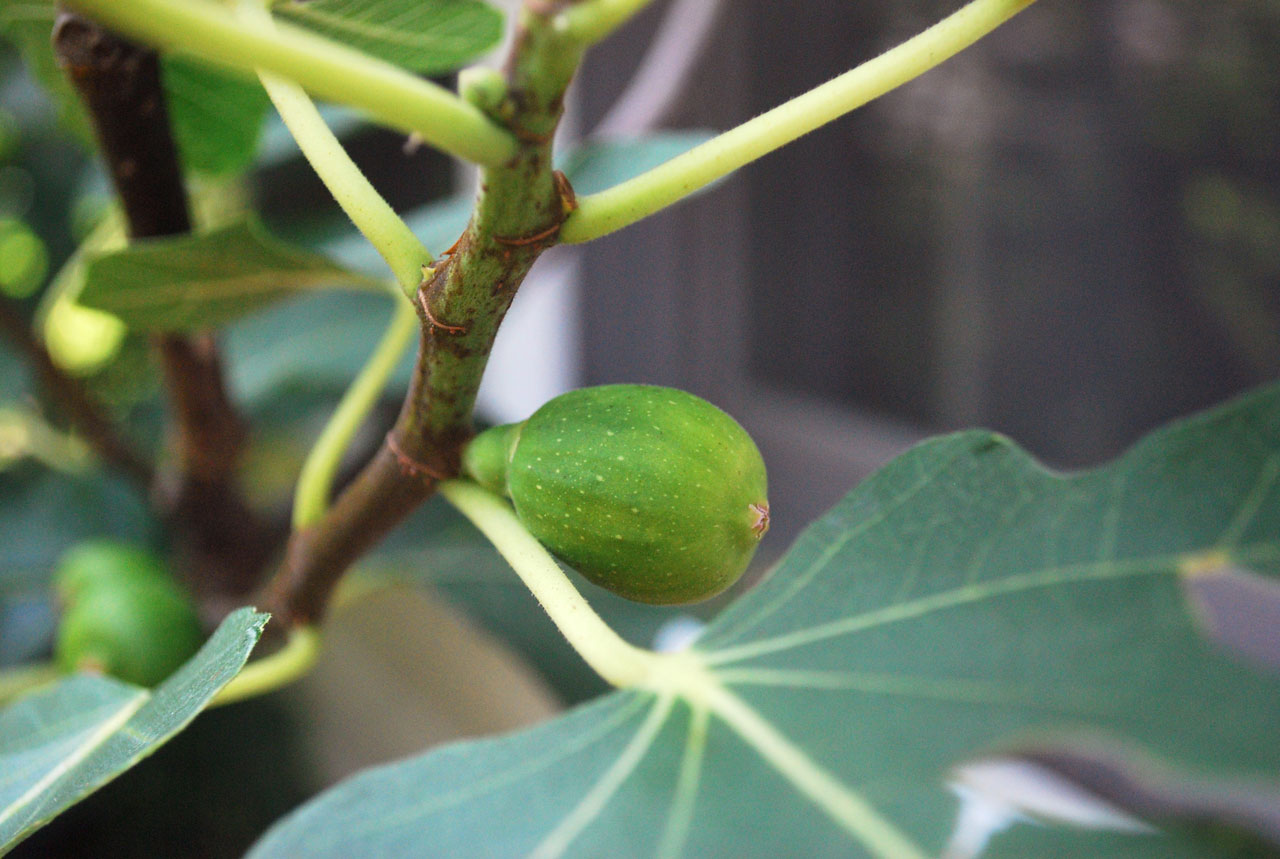
Propagating Fig Trees: A Step-by-Step Guide
If you’re a fan of fig trees and want to expand your collection, propagating them is a rewarding and cost-effective option. Whether you want to clone your favorite variety or share some fig tree love with friends and family, propagating fig trees is a relatively simple process. In this step-by-step guide, we’ll walk you through the process of propagating fig trees successfully.
1. Gather Your Propagation Tools
To start, gather the necessary tools for propagating your fig tree. You’ll need a clean, sharp pair of pruning shears or a knife, a rooting hormone powder or gel, a planting container or pot, high-quality potting mix, and a plastic bag or a propagation dome.
2. Choose the Propagation Method
Fig trees can be propagated using various methods like stem cuttings, air layering, or root cuttings. For the purpose of this guide, we’ll focus on propagating fig trees from stem cuttings, which is the most common and straightforward method.
3. Select the Cutting
When choosing a cutting, look for a healthy and disease-free shoot that’s about 6 to 8 inches long, ideally without any fruit. Make a clean cut at a 45-degree angle just below a leaf node or bud. Remove any lower leaves to leave about two to four leaves at the top.
4. Apply Rooting Hormone
Dip the cut end of the stem into a rooting hormone powder or gel. This helps stimulate root development and increases the chances of successful propagation. Shake off any excess hormone to avoid overdosing.
5. Prepare the Planting Container
Fill a suitable container or pot with a well-draining and nutrient-rich potting mix. Moisten the mix slightly, ensuring it is evenly damp but not soaking wet.
6. Plant the Cutting
Make a hole in the potting mix using your finger or a pencil and gently place the cutting in, ensuring that at least one or two nodes are buried below the surface. Gently press the mix around the stem to secure it in place.
7. Provide the Optimal Environment
To create a conducive environment for rooting, cover the pot with a plastic bag, or if you have a propagation dome, use that to create a mini greenhouse effect. Place the pot in a warm, bright location away from direct sunlight.
8. Water and Care for the Cutting
Keep the potting mix consistently moist but not waterlogged. Mist the cutting occasionally to maintain humidity within the enclosure. Avoid overwatering, as this can cause root rot and hinder successful propagation. Monitor the cutting regularly for signs of growth.
9. Gradually Acclimate the Cutting
After a few weeks, when the cutting starts to show new growth, gradually acclimate it to normal room conditions by slowly exposing it to ambient air and light. This helps the plant adjust and prevents shock when transitioning from the enclosed environment.
10. Transplant the Rooted Cutting
Once the cutting has developed a healthy root system, typically after a few months, it is ready for transplanting into a larger pot or the ground. Ensure the new location provides ample sunlight and well-draining soil to support the growth of your newly propagated fig tree.
By following these steps, you can successfully propagate fig trees and grow your collection or share the joy of figs with others. Remember, propagating plants is a gratifying and patient process. Happy propagating!
Keep Reading

Philodendron Propagation: A Guide to Growing New Plants
Philodendrons are beautiful and popular houseplants known for their lush foliage and easy care requirements. If you're a plant lover looking to expand your collection or share your philodendron with friends and family.
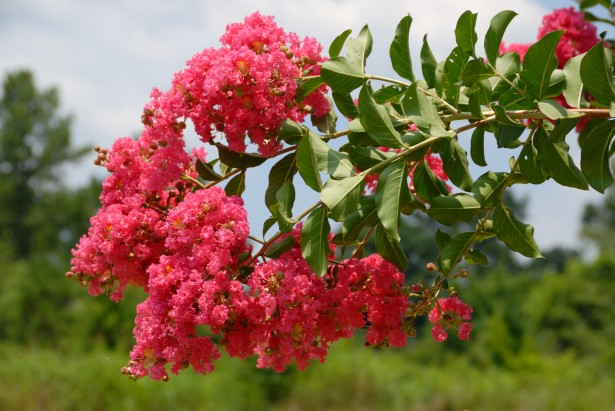
Title: Rooting Crepe Myrtle in Water: A Step-by-Step Guide to Successful Propagation
If you're looking to propagate crepe myrtle plants, one of the easiest and most successful methods is rooting them in water. This simple technique can help you multiply your favorite crepe myrtle varieties without much effort.