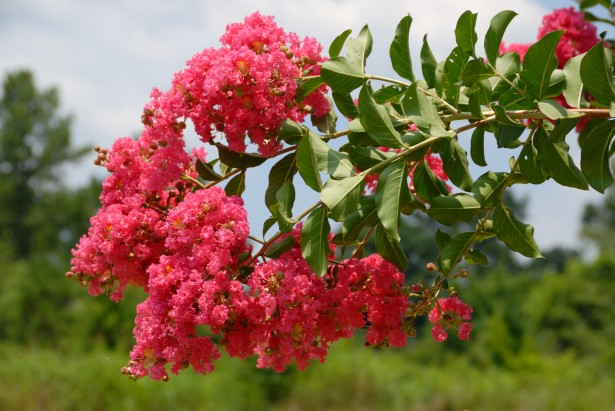
Title: Rooting Crepe Myrtle in Water: A Step-by-Step Guide to Successful Propagation
If you’re looking to propagate crepe myrtle plants, one of the easiest and most successful methods is rooting them in water. This simple technique can help you multiply your favorite crepe myrtle varieties without much effort. In this step-by-step guide, we’ll walk you through the process of rooting crepe myrtle in water.
Step 1: Prepare the Cuttings
Start by selecting healthy and disease-free crepe myrtle cuttings. Choose young, green stems from the current season’s growth. Make sure the cuttings are around 6-8 inches long, with a few sets of leaves. Remove any flowers or buds from the cuttings, as they can divert energy from root development.
Step 2: Strip the Leaves
Carefully remove the lower set of leaves from the bottom inch of each cutting. This will expose the nodes, which are essential for root formation. Nodes are the areas where leaves or buds emerge from the stem. By removing the leaves, you encourage the development of roots instead of new foliage.
Step 3: Fill a Container with Water
Take a clean container, such as a glass or jar, and fill it with room temperature water. Make sure the water level is deep enough to submerge the cuttings’ stripped nodes. Ideally, the water should cover at least 1 inch of the stems.
Step 4: Promote Root Formation
To encourage root development, consider using a rooting hormone. Dip the bottom inch of each cutting into the hormone, ensuring it covers the stripped area. Shake off any excess powder before placing the treated cuttings in the water-filled container.
Step 5: Provide Ideal Conditions
Place the container in a warm, well-lit area that receives indirect sunlight. Avoid exposing the cuttings to direct sunlight, as it can damage the tender stems. Ensure the container remains stable and doesn’t tip over.
Step 6: Change the Water Regularly
To prevent the growth of harmful bacteria and algae, change the water in the container every two to three days. It’s crucial to maintain clean water to enhance root development and overall cutting health.
Step 7: Monitor Root Growth
After a few weeks, you should start seeing tiny roots emerging from the nodes of the crepe myrtle cuttings. Keep a close eye on their progress, and be patient as it can take several weeks for sufficient root development.
Step 8: Transplant into Soil
Once the crepe myrtle cuttings have developed a significant root system (around 2 inches or more), you can transplant them into a well-draining potting mix. Ensure the soil is moist but not waterlogged, and place the young plants in a protected area with filtered sunlight.
Step 9: Care for the Transplants
To help the transplants establish successfully, provide them with consistent moisture while avoiding overwatering. Monitor the plants for any signs of stress or disease, and gradually acclimate them to outdoor conditions before transplanting them into the garden.
By following these step-by-step instructions, you can easily propagate crepe myrtle plants by rooting them in water. Enjoy the satisfaction of multiplying your favorite crepe myrtle varieties and adding their beauty to your garden or landscape!
Keep Reading
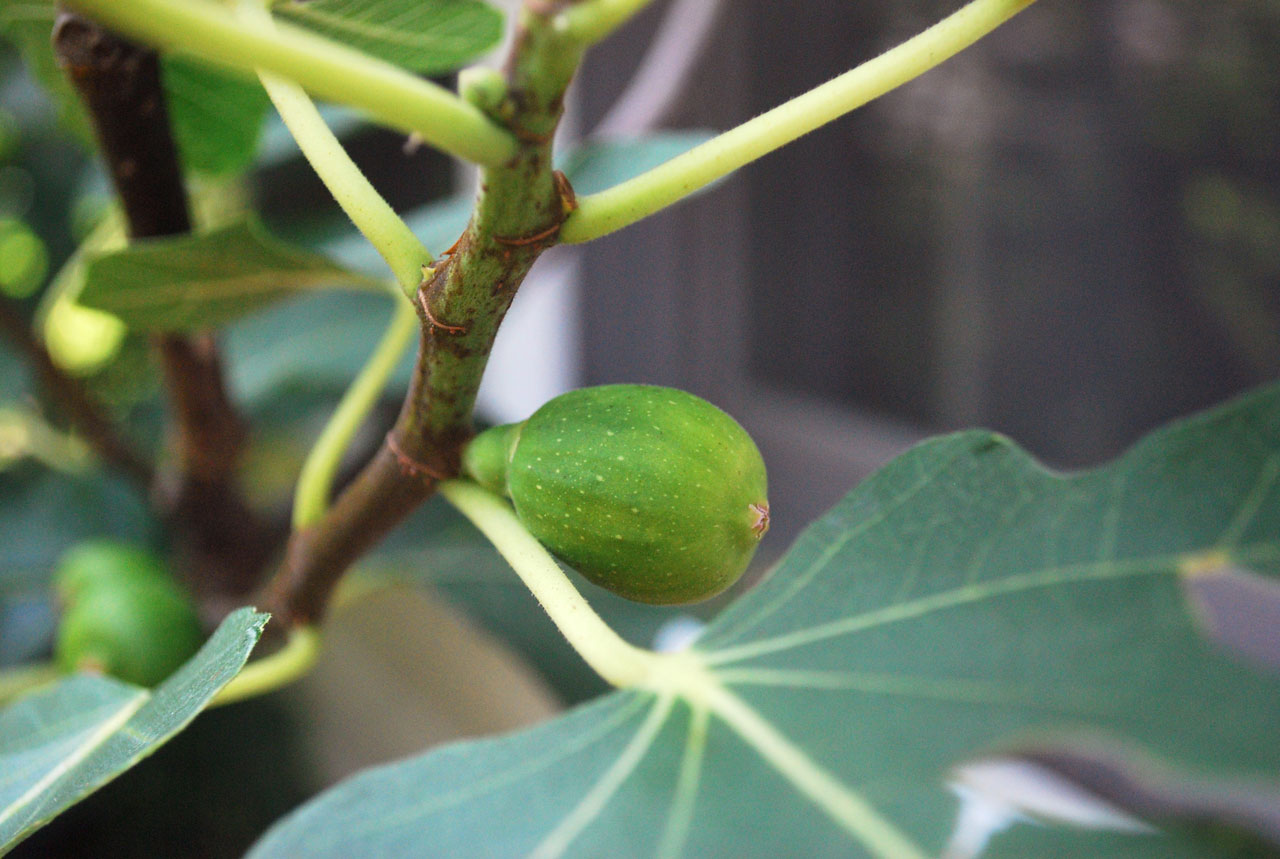
Propagating Fig Trees: A Step-by-Step Guide
If you're a fan of fig trees and want to expand your collection, propagating them is a rewarding and cost-effective option. Propagating fig trees is a relatively simple process.

Propagating Marigold Plants: A Step-by-Step Guide
Marigolds are vibrant and hardy flowers loved by garden enthusiasts for their cheerful blooms. If you've always admired marigolds and want to expand your garden, why not try propagating marigold plants?