Propagating Plants: A Step-by-Step Guide to Using Aerial Roots Monstera
Aerial roots are a fascinating feature found in various plant species, including the popular Monstera. These unique roots not only aid in plant support and stability but can also be utilized for propagation. In this guide, we will explore the process of propagating plants using aerial roots, particularly focusing on the Monstera plant.
Step 1: Understanding Aerial Roots
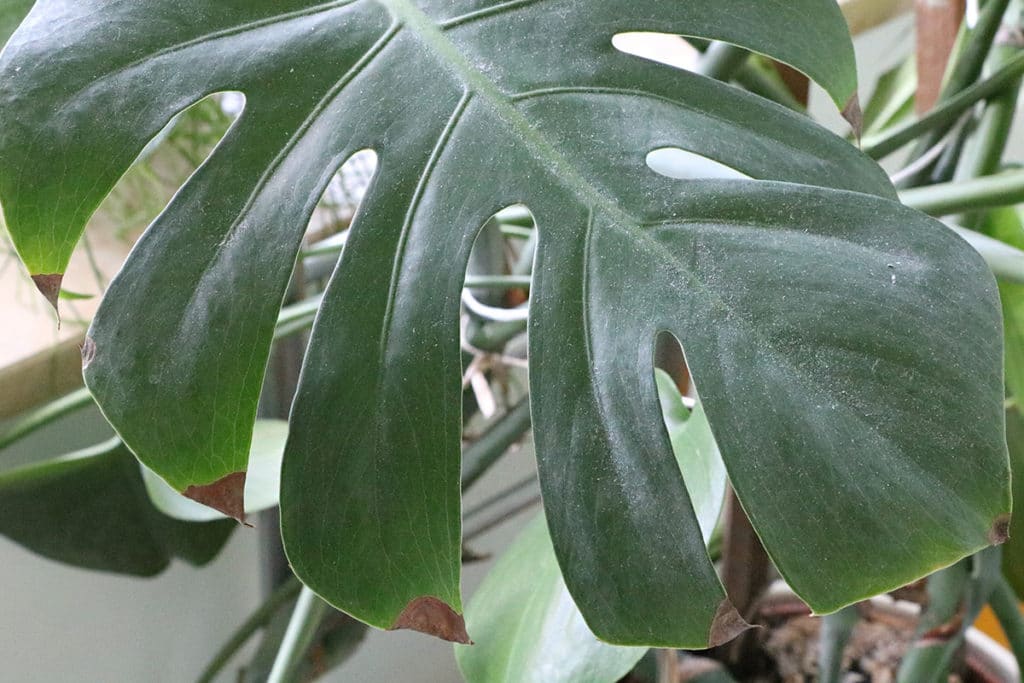
Aerial roots are roots that develop above the ground rather than in soil. They emerge from the stem or branches of a plant, seeking support and nutrients. Monstera plants are known for their vibrant green leaves and distinctive aerial roots, which can be utilized for propagation.
Step 2: Identifying Suitable Aerial Roots
To propagate a Monstera plant using its aerial roots, it is important to identify healthy and suitable roots. Look for roots that are thick, firm, and have tiny root hairs present. These roots are more likely to be successful in the propagation process.
Step 3: Preparing the Propagation Setup
Before starting the propagation process, gather the necessary materials. You will need a clean pair of pruning shears, a clean container or pot, well-draining soil or a water-filled container, and a gentle rooting hormone (optional).
Step 4: Gently Detaching the Aerial Roots
Carefully separate the chosen aerial root from the main plant. Use clean pruning shears to make a clean cut near the base of the root. Be cautious not to damage the main plant while detaching the root.
Step 5: Rooting in Water or Soil
Propagating using water: Place the detached aerial root in a container filled with water, ensuring that the root is submerged but the leaves are not. Change the water every few days to prevent stagnation and monitor root growth.
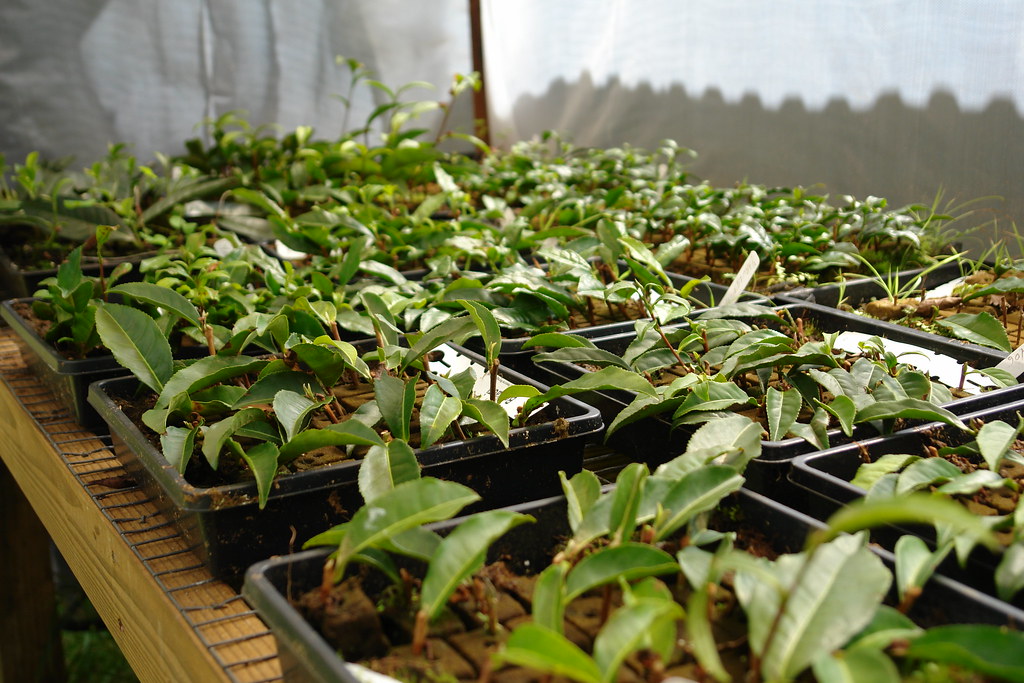
Propagating using soil: Alternatively, if you prefer to root the aerial root in soil, prepare a container with well-draining soil. Make a small hole and place the detached root inside, covering it gently with soil. Ensure the soil remains moist but not waterlogged.
Step 6: Providing Optimal Growing Conditions
Regardless of the rooting method chosen, it is crucial to provide optimal growing conditions for the propagated plant. Place it in a warm and well-lit area, but away from direct sunlight, which can scorch the delicate roots. Regularly monitor the moisture levels and adjust as needed to maintain a slightly humid environment.
Step 7: Patience and Care
Propagation takes time, so be patient and allow your Monstera plant to establish itself. Monitor the growth of new roots and leaves, ensuring there are no signs of distress or disease. Adjust watering and lighting conditions accordingly.
Step 8: Transplanting the Propagated Plant
Once the propagated Monstera plant has established a healthy root system and several new leaves, it is time to transplant it into its permanent container. Choose a pot with adequate drainage and fill it with well-draining soil. Carefully transfer the plant, ensuring the roots are not damaged during the process.
By following these steps, you can successfully propagate your Monstera plant using its aerial roots. Experiment with different rooting methods and care techniques to find what works best for you and your plants. Enjoy the rewarding process of propagating and expanding your plant collection!
Keep Reading
Propagate Monstera: A Guide to Successfully Propagating this Popular Houseplant
Monstera, also known as the Swiss cheese plant, is a trendy and sought-after houseplant. Its unique foliage and low maintenance requirements make it a favorite among plant enthusiasts.
Propagating Pothos: A Step-by-Step Guide to Easy Plant Propagation
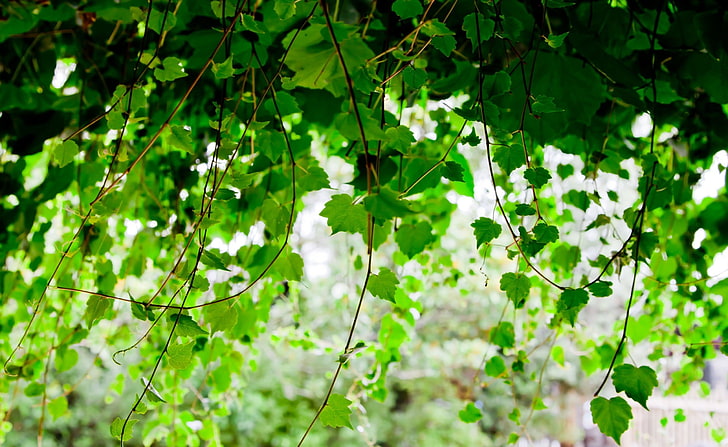
Pothos, with its beautiful cascading vines, is a beloved houseplant that adds a touch of greenery to any space. One of the best things about pothos is how easy it is to propagate.