Propagate Monstera: A Guide to Successfully Propagating this Popular Houseplant
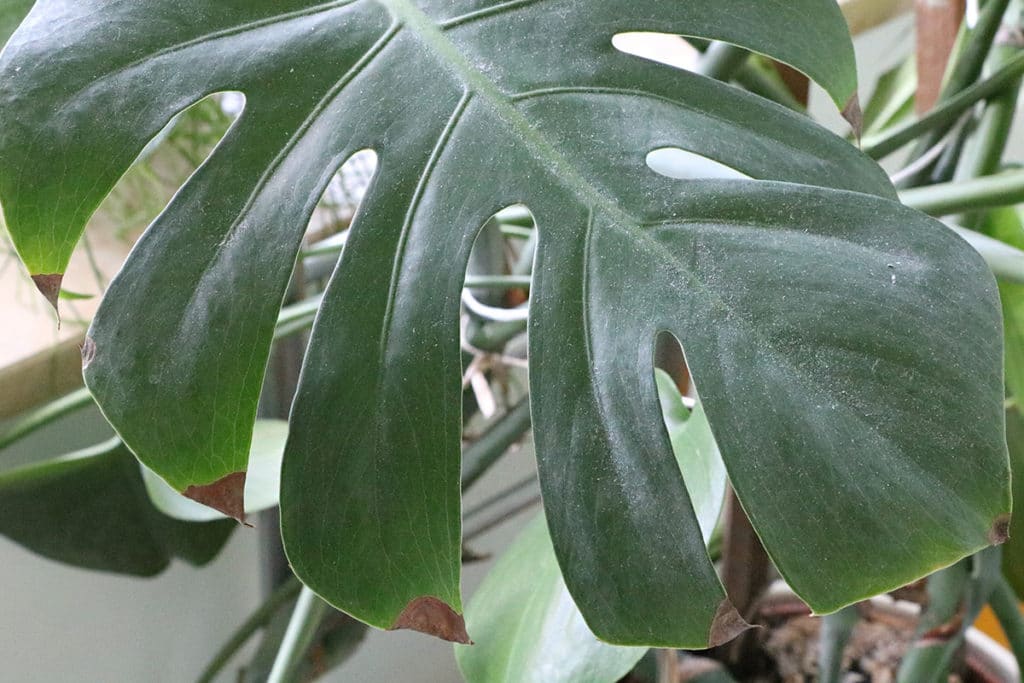
Monstera, also known as the Swiss cheese plant, is a trendy and sought-after houseplant. Its unique foliage and low maintenance requirements make it a favorite among plant enthusiasts. If you have a healthy monstera and want to expand your collection or share it with friends, propagating your monstera is a great option. In this guide, we will take you through the process of propagating monstera successfully.
Why Propagate Monstera?
The benefits of propagating monstera are manifold. Firstly, it allows you to create new plants from the cuttings of your existing monstera, giving you more opportunities to grow this beautiful plant. Secondly, it is a cost-effective way to expand your collection or give plants as gifts to fellow plant lovers. Lastly, propagating monstera helps maintain the health and vitality of the original plant by encouraging new growth.
When to Propagate Monstera
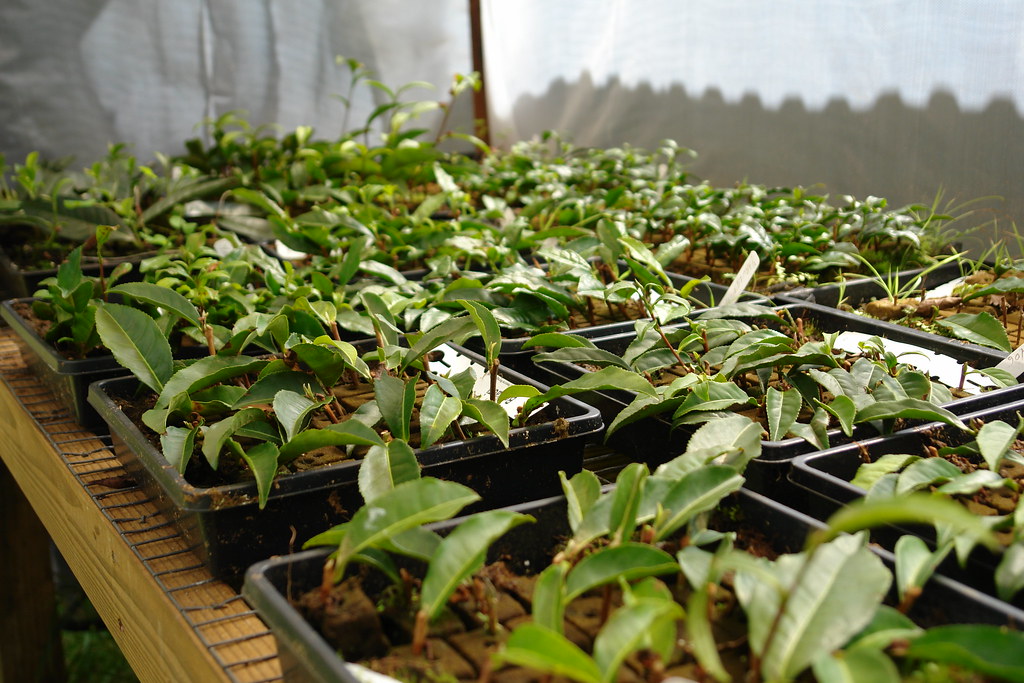
The best time to propagate monstera is in the spring or early summer when the plant is actively growing. During this time, the monstera has a higher chance of successfully rooting and establishing new growth.
Materials Needed
Before you start propagating your monstera, gather the following materials:
- Healthy monstera plant
- Clean, sharp pruning shears or scissors
- Clean container with drainage holes
- High-quality potting mix
- Rooting hormone (optional)
- Watering can or mister
- Plastic bag or propagation dome (optional)
Step-by-Step Guide to Propagate Monstera
1. Select a Healthy Parent Plant
Choose a healthy parent plant with vigorous growth and mature leaves. Avoid selecting a weak or diseased plant as it may not produce successful cuttings.
2. Prepare the Cutting
Using clean and sharp pruning shears or scissors, cut a stem that has at least one node. A node is a small bump on the stem from which leaves or roots can emerge. Make the cut just below a node to ensure successful rooting.
3. Apply Rooting Hormone (Optional)
Applying rooting hormone to the cut end of the stem can increase the chances of successful rooting. While it is optional, rooting hormone can expedite the rooting process and improve overall success rates.
4. Prepare the Propagation Pot
Fill a clean container with well-draining potting mix. Moisten the mix slightly but avoid making it overly wet. Ensure the pot has drainage holes to prevent waterlogging, which can lead to root rot.
5. Plant the Cutting
Make a small hole in the potting mix with your finger or a pencil. Gently insert the cutting into the hole, ensuring that at least one node is buried below the soil. Firmly press the soil around the stem to provide stability.
6. Provide Optimal Conditions
Place the propagation pot in a warm and brightly lit area, away from direct sunlight. Maintain a temperature between 70-80°F (21-27°C) for optimal growth. Keep the soil slightly moist but avoid overwatering, as it can lead to rotting.
7. Mist or Cover (Optional)
To increase humidity around the cutting, mist the leaves regularly or cover the pot with a plastic bag or propagation dome. This helps prevent excessive moisture loss and promotes successful rooting.
8. Monitor and Care for the Cutting
Monitor the cutting regularly for signs of new growth. After a few weeks, you may notice new leaves or roots emerging from the node buried in the soil. Ensure the soil remains slightly moist and adjust watering as needed.
9. Transplanting
Once the cutting has established roots and new growth, it is ready to be transplanted into a larger pot. Choose a container that allows room for growth and use a well-draining potting mix. Water the plant thoroughly after transplantation.
Conclusion
Propagating monstera is a rewarding and enjoyable process. By following the steps outlined in this guide, you can successfully propagate your monstera and expand your plant collection. Remember to be patient, as it may take some time for the cuttings to root and establish new growth. With a little care and attention, you’ll soon be enjoying the beauty of your propagated monstera plants.
Keep Reading
Dieffenbachia Propagation: A Step-by-Step Guide to Growing New Plants
Dieffenbachia, also known as Dumb Cane, is a popular houseplant known for its attractive foliage. If you want to expand your collection or share this beautiful plant with others, propagating Dieffenbachia can be an exciting and rewarding process.
Propagating Plants: A Step-by-Step Guide to Using Aerial Roots Monstera
Aerial roots are a fascinating feature found in various plant species, including the popular Monstera. These unique roots not only aid in plant support and stability but can also be utilized for propagation.